The firewall component allows you to protect a server from incoming
network connections that could be used to compromise the server’s
security. The firewall comes with a set of predefined rules that allow
connections to the services required for the proper functioning of a
hosting server, such as web hosting, mail hosting, and FTP.
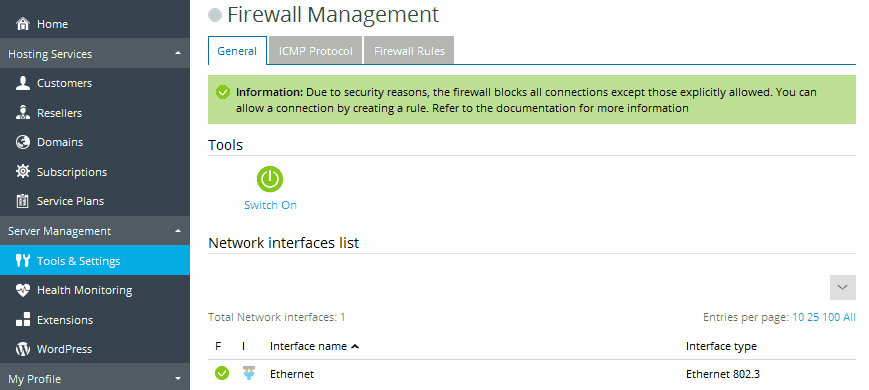
Turning the Firewall On and Off
In clean installations, the firewall is switched on. You can switch it
off and on again at any time using the corresponding button on the
Tools & Settings > Firewall page.
Viewing and Managing Allowed Inbound Connections
By default, the firewall blocks all inbound connections that are not
explicitly allowed. To view the currently applied firewall rules for
inbound connections, go to Tools & Settings > Firewall >
Firewall Rules tab. On this tab, you can do the following:
-
Allow inbound connection to a service.
If the service is not shown in the list of rules, click Add
Firewall Rule. Specify the rule name for future reference, then
specify the Firewall profile: Domain, Private, or Public (for
details, see Windows Firewall Profile
documentation),
the port and the protocol for which incoming connections must be
allowed. Leave the Switch on the rule checkbox selected if you
wish to apply the rule immediately.If the service is already in the list of rules, click the
corresponding rule’s name and select the Switch on the rule
checkbox. -
Temporarily block connections to a service by clicking the
corresponding rule’s name and clearing the Switch on the rule
checkbox. -
Permanently block connections to a service by selecting the
corresponding rule and clicking Remove. -
Restore the default firewall configuration by clicking Default.
-
Close down all connections to the server. If your server is
compromised and websites are damaged, you may want to make the server
unavailable over the Internet and keep it isolated until all
vulnerabilities are patched and websites are restored from backup
files. To close all connections to the server, click Panic Mode.
Allowing and Blocking ICMP Communications
ICMP communications are used for network troubleshooting purposes. By
default, all ICMP communications are allowed. For a detailed description
of ICMP messages, please refer to
http://msdn.microsoft.com/en-us/library/ms912869.
To block or to allow ICMP communications:
-
Go to Tools & Settings > Firewall > ICMP Protocol.
The predefined rules for ICMP communications are listed. The S
(status) column shows the icon if the firewall
blocks the packets that match the rule, and the
icon if the firewall allows the packets that match the rule to pass
through. -
Do any of the following:
- To allow ICMP requests of a specific type, click the respective
 icon in the S column.
 - To block ICMP requests of a specific type, click the respective
 icon in the S column.
 - To block all ICMP requests, click Panic Mode.
- To restore the default settings for ICMP requests, click
Default.
- To allow ICMP requests of a specific type, click the respective