When a domain is created in Plesk, a DNS zone containing all the
necessary DNS records is created automatically. However, you can add,
modify, or remove DNS records, if the corresponding permission is
granted by the hosting provider.
Managing DNS records
To see the records currently present in a domain’s DNS zone, go to
Websites & Domains > DNS Settings. You can also add, modify, and
remove records on this screen.
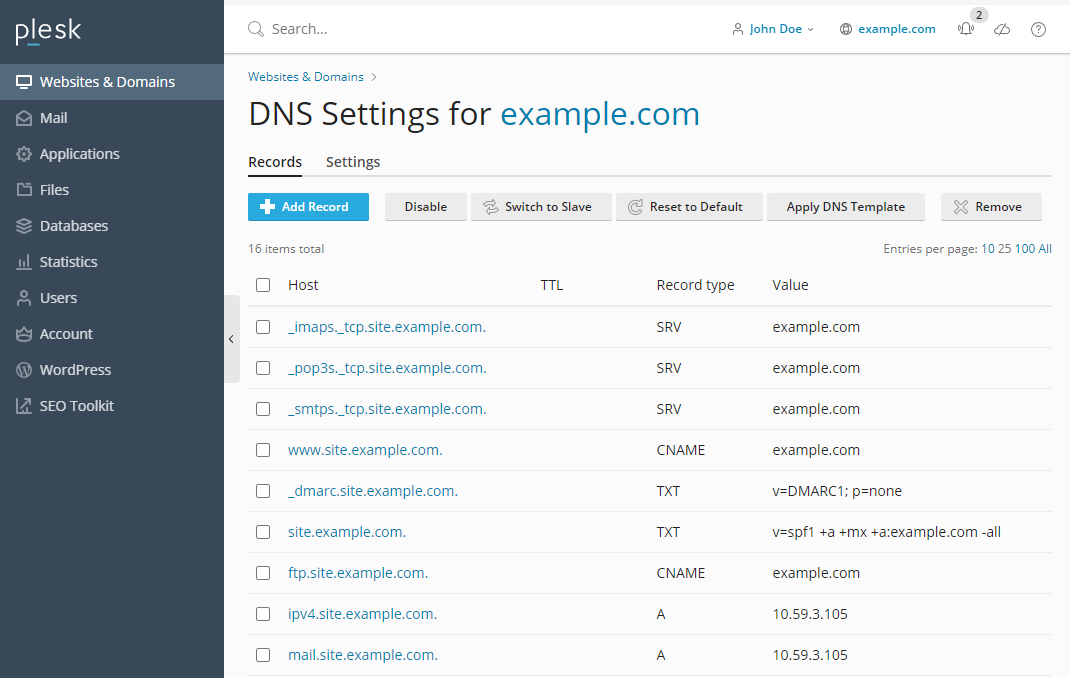
To add a record, click Add Record. To modify a record, click its
name. To remove a record, select the checkbox next to the record’s name
and click Remove. Note that removing certain records will affect the
functioning of your domain. For example, removing the A record will
prevent it from resolving. If you made changes to the DNS zone that
affect the functioning of your website, you can restore the default DNS
records by clicking Reset to Default. This will undo all the changes
made to the DNS zone and recreate it according to the server-wide DNS
template. Note that any custom records you may have added to the zone
will be lost.
The DNS zone also includes the SOA records template. You can see and change the
SOA record values in Websites & Domains > DNS Settings >
SOA. Selecting the Use serial number format recommended by IETF
and RIPE checkbox changes the way Plesk stores SOA serial numbers from
the Unix timestamp to the YYYYMMDDNN format recommended by RIPE. Using
the YYYYMMDDNN format is required for many domain registrars, mostly
European ones. If your registrar refuses your SOA serial number,
enabling this option may help.
You can explicitly specify which name sever will be the trusted source of data for slave name servers
by appointing this name server as the primary one for your domain.
To do so, under “Primary Name Server”, select the desired name server.

Note: If SOA serial numbers are stored in the format recommended by IETF
and RIPE, the number of daily changes of the SOA…