If you want to select specific Plesk components for installation, you
can install Plesk using the graphical interface. Follow these steps to
begin:
- Log in to the server via RDP.
- Download Plesk
Installer. - Launch the Windows command prompt. Change the working directory to
the one in which you saved the installer binary, then run the
following command:
plesk-installer.exe --web-interface
This will launch the installer GUI in your browser.
If you want to install an earlier version of Plesk, run:
plesk-installer.exe --web-interface --all-versions
If you prefer to use the command line for installation, see the
Installer Console topic.
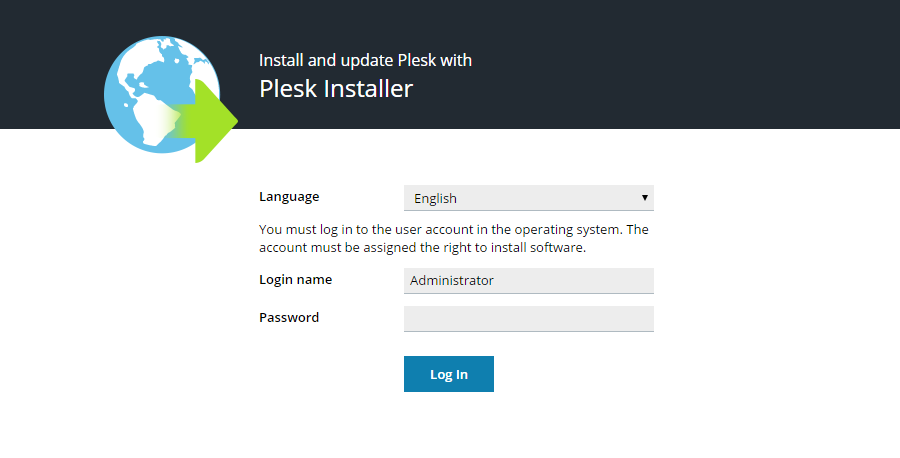
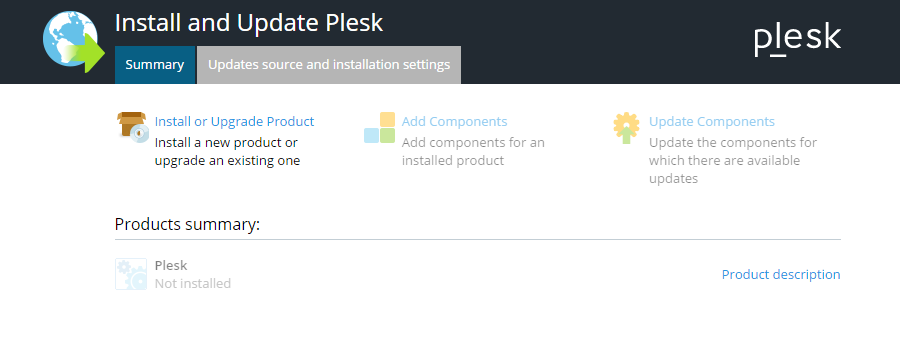
Select the desired interface language and log in with your Windows
administrator credentials to proceed. After logging in, you are greeted
by the installer GUI welcome screen. Later, you will come here to add,
remove, or update Plesk components. However, at the moment, the only
available option is to install Plesk.
If you want to change installation settings, click Updates source and
installation settings.
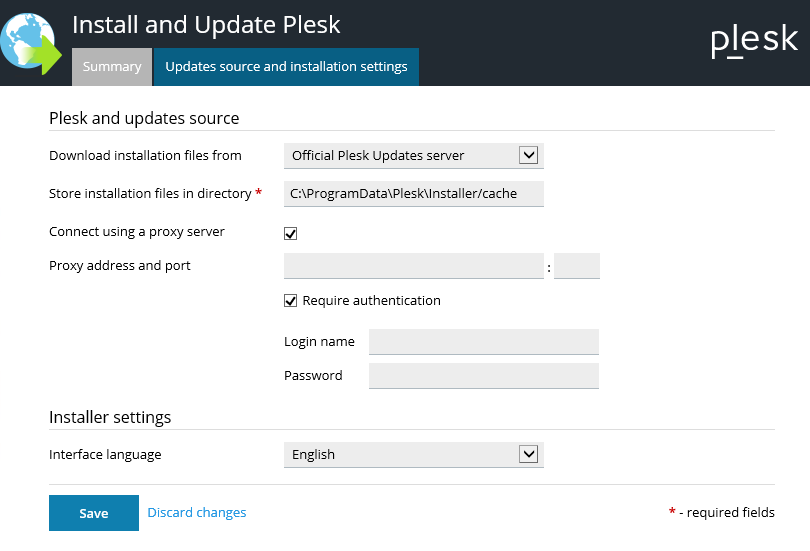
On this screen you can do the following:
- Change the source of the installation files. By default, they are
downloaded from Plesk servers. However, you may want to install from
a different server (for example, if you have set up a local mirror),
or from the local disk (if you have downloaded the installation files
beforehand). - Change the directory to which the installer will download files
(C:ParallelsInstallerparallelsby default). - Configure the HTTP…