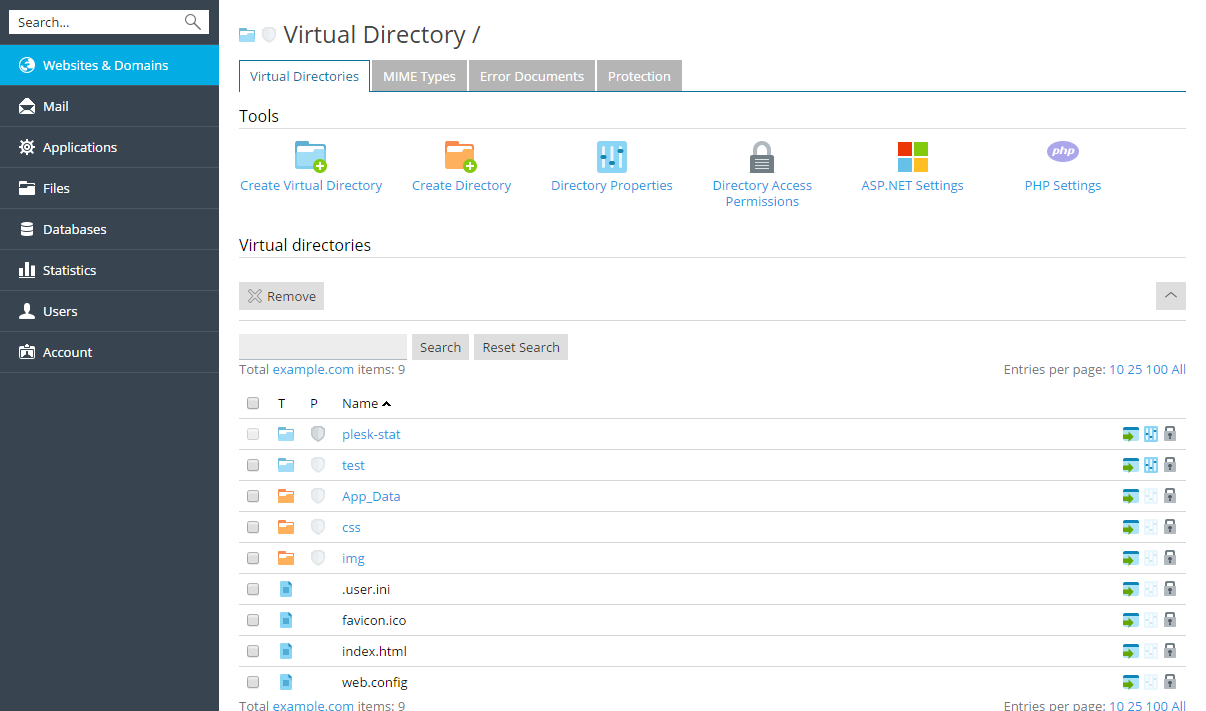
To create a virtual directory within a website:
-
Go to Websites & Domains and find the website’s domain name.
-
Click Virtual Directories. You are in your web site root now.
-
Navigate to the directory in which you want to create a virtual
directory. -
Click Create Virtual Directory.

Note: To create a physical directory instead of virtual directory, click
Create Directory, specify the name of the directory and click
OK. -
Specify the required parameters:
-
Name - specify the virtual directory name.
-
Path - specify the virtual directory path:
- Select the Create physical directory with the same name as
virtual directory checkbox to automatically create a physical
directory with the same name as the virtual directory you are
creating. - Clear the Create physical directory with the same name as
virtual directory checkbox and specify the path in the field
to select a physical directory that already exists.
- Select the Create physical directory with the same name as
-
Script source access - select this checkbox to allow users to
access source code if either Read or Write permissions are set.
Source code includes scripts in ASP applications. -
Read permission - select this checkbox to allow users to read
files or directories and their associated properties. -
Write permission - select this checkbox to allow users to
upload files and their associated properties to the virtual
directory or to change content in a write-enabled file. Write
access is allowed only if browser supports the PUT feature of the
HTTP 1.1 protocol. -
Directory browsing - select this checkbox to allow users to
see a hypertext listing of the files and subdirectories in the
virtual directory. -
Log visits - select this checkbox if you want to store the
information about visits of the virtual directory. -
Create application - select this checkbox to make the
directory an IIS application. The directory becomes logically
independent from the rest of the website. -
Execute permissions…
-


