

It doesn’t matter if we develop a tiny website or a huge web portal – someday we have to deploy it to a public web server. Our noble ancestors used to deploy their web projects via FTP or, if they were concerned about security, SFTP. These simple and reliable tools serve us well to this day. But at the same time, today there are more interesting ways for deployment. One of these ways is pushing to a remote git repo, or simply “push-to-deploy”.
“Push-to-deploy” is very popular and is supported by various services like GitHub, Heroku, Google Cloud Platform, and so on.
Today, I am happy to announce “push-to-deploy” support in Plesk.
Prerequisites
The first thing that is obviously required for “push-to-deploy” is Plesk. I prefer the just released 12.5 version, but 12.0 is also supported. The second, also unsurprising, is Git. And, last but not least, our new amazing Gitman extension, which does almost all the work.
It doesn’t make sense to describe Plesk installation here because it is well documented on official site.
The procedure for Plesk Git installation depends on the used Linux distro (by the way, the Windows version is not supported).
For Debian based distros run:
apt-get install git
and for Red Hat based distros run:
yum install git
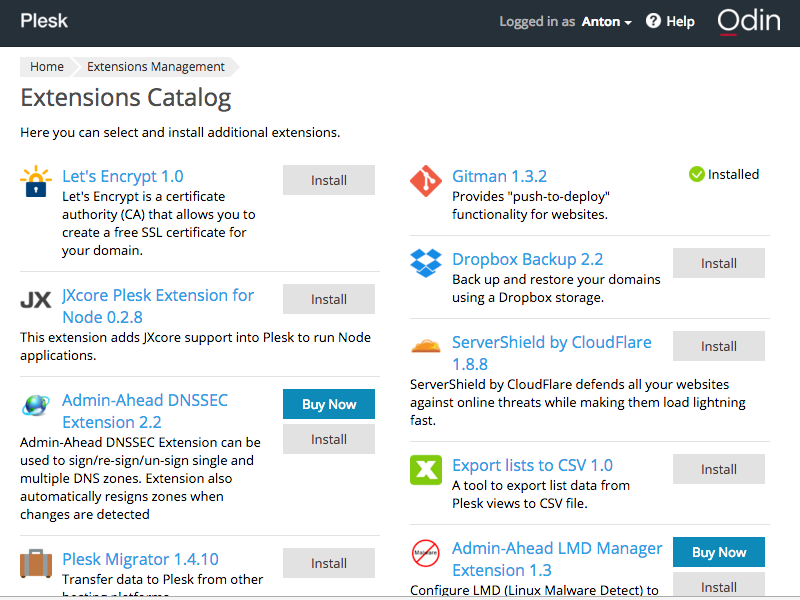
The Gitman extension can be easily installed via the Plesk user interface (Left Menu -> “Server Management” -> “Extensions” -> “Extensions Catalog”).

I suppose you already have a domain on which to deploy your web project, but if you don’t, you should create one.
There is one more thing you should do before we start: enable ssh access to the domain. It can be done from the “Web Hosting Access” menu on your domain settings screen. Simply change “Access to the server over SSH” from “Forbidden” to “/bin/bash”. Note: you must have the appropriate permission to do this.
Let’s check what you need:
- Plesk installed
- Git installed
- Domain created
- SSH access to domain allowed
Push-To-Deploy
First, you should initialize a new git repo for the domain on your server. To do this, open the “Websites and Domains” tab and click the “Git” button. On the page that opens, click the “Initialize” button.

After the repository is initialized, you can clone it to your local PC via the provided repository URL, commit files, and push them to the server repository.

Advanced Features
Custom deployment directory
By default, Gitman deploys the repository to the httpdocs directory of the domain. It can be easily changed via the “Settings” button. You should use an existing directory to be able to deploy.
Temporarily Turning Off Auto Deployment
Auto deployment can be temporarily turned off with the “Deactivate” button and turned on again with the “Activate” button. If auto deployment is turned off, Gitman will not perform any deployment automatically. But you can always perform manual deployment via the “Deploy” button.
Deploy from a different branch
You can select a branch for deployment, but first you should create it and push it to the server’s repository.

First time you have to deploy by hand, but next time auto deployment will work as usual.
Removing a repository
There is a special “Remove” button to completely remove the current repository. It doesn’t remove any deployed files. After removing, you can initialize the repository again anytime.
Conclusion
Currently, the Gitman extension provides the basic functionality for site deployment and Git repository management. There are many possible enhancements and improvements. Feel free to share your experience and ideas with us.