

This tutorial was originally designed for Plesk 12.5 but is fully compatible with Plesk Onyx!
Undoubtedly you know how to quickly install WordPress (or whatever application) with Plesk, and can educate your customer how to do so.
Let us count the mouse clicks it takes:
- Click “WordPress” in Featured applications menu.
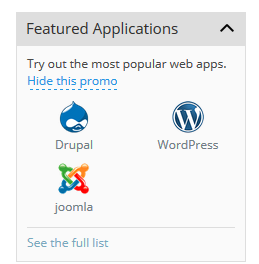

2. Click “Install”.
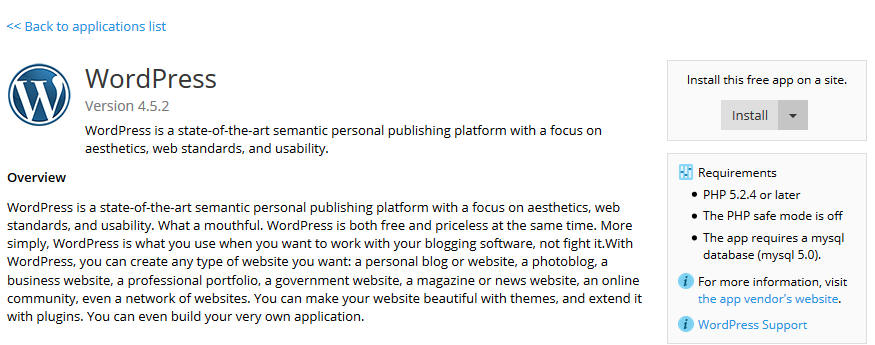

3. Hmm… This is actually it. It is fully working with only 2 clicks.

But what if you want to skip pressing any buttons and just give your customers what they want automated? Then we’ve got something for you:
How to automate WordPress installation for new domains
We need something to be triggered when the domain is provided by Plesk. As a trigger I used a “physical hosting created” event handler – http://docs.plesk.com/en-US/12.5/administrator-guide/server-administration/event-tracking/event-parameters-passed-by-event-handlers.67897/#o67985. When I tried with “domain created” I came across “unable to find resource” errors – which is quite correct generally speaking, as the domain can be a forwarding page with no real hosting resources underneath. So the “physical hosting created” is our choice for triggering WordPress installation. In the event handler parameter put a script to be executed with root permissions. Let’s assume the script name is domain-created.sh:


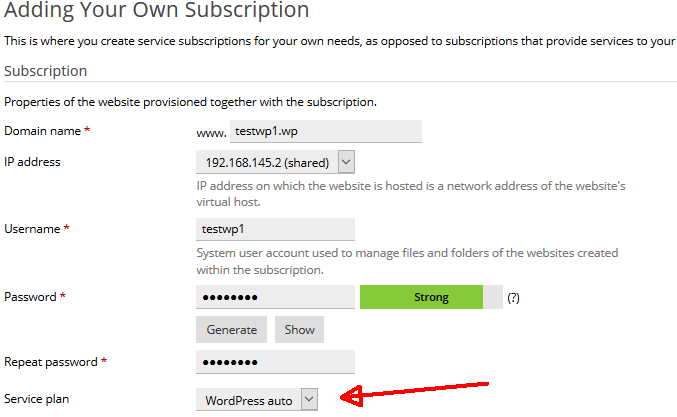
A foreword on business logic: In a general scenario we may not want to work with WordPress for every single new domain, but just some of them. The easiest way to say what domain should have WordPress and vice versa is to create 2 service plans. My service plan for WP-enabled domains is called WordPress auto. Essentially it is a clone of a Default domain plan, we just need a distinguishable name here. Of course you are free to limit databases, because as long as it’s a WordPress plan, it’s unlikely more than one database will ever be needed, as well as other things.
And now to the script.
DISCLAIMER: Although the script below was tested and proven to work, the author cannot guarantee its proper functioning on every server or every OS. Under no condition should one copy and use the script on production servers without proper testing, analysis and accommodating for specific conditions. This article it intended to provide you with an idea of how cool things can be with Plesk, rather than a ready-made solution.
Some logging is commented out, as I got feedback it might be insecure to store passwords in plaintext in the handler log.
/bin/date >> /tmp/event_handler.log # information on the event date and time

/usr/bin/id >> /tmp/event_handler.log # information on the user, on behalf of which the script was executed (to ensure control)

#we need random string generators. One simple for logins, and the other is more complex for secure passwords.
genpass_alphanum() {
        local l=$1
        [ "$l" == "" ] && l=16
        tr -dc A-Za-z0-9_ < /dev/urandom | head -c ${l} | xargs
}
genpass() {
        local l=$1
        [ "$l" == "" ] && l=16
        tr -dc A-Za-z0-9\_\!\@\#\$\%\^\&\*\?< /dev/urandom | head -c ${l} | xargs
}

#We want to make we provide the latest WordPress version. See http://docs.plesk.com/en-US/12.5/cli-linux/using-command-line-utilities/aps-application-catalog.63094/ for more details on “plesk bin aps” functionality

VER_RAW=(`plesk bin aps -gp|grep WordPress -A2 -B1|grep -v Vendor|awk '{print $2}'`)
VER_LEN=${#VER_RAW[*]}
VER=()
for i in {0,$((VER_LEN/3)),1}; do VER=(${VER[@]} ${VER_RAW[$((i*3-1))]}); done
IFS=$'\n' sorted=($(sort <<<"${VER[*]}"))
LVC=${#sorted[*]}
LATEST_VER=${sorted[$((LVC-1))]}
echo latest version is $LATEST_VER >>/tmp/event_handler.log
LATEST_PACKAGE_ID=`plesk bin aps -gp|grep $LATEST_VER -B3|head -1|awk '{print $2}'`
echo latest package id is $LATEST_PACKAGE_ID >>/tmp/event_handler.log

echo "domain ${NEW_DOMAIN_NAME}" >> /tmp/event_handler.log

# Find out plan name on which domain is created – see http://docs.plesk.com/en-US/12.5/cli-linux/using-command-line-utilities/site-sites.67067/ for reference

PLAN=`plesk bin site -i "${NEW_DOMAIN_NAME}"|grep -i plan|awk -F\" '{ print $2 }'`

echo $PLAN >> /tmp/event_handler.log

#if plan is right, we are installing WP, and for this we need to extract user name and email from domain owner, in order to provide WP with the same data, without having to make user correct it later

if [ "$PLAN" == "$TARGET_PLAN" ]; then
echo "${NEW_DOMAIN_NAME} is eligible for WP installation" >> /tmp/event_handler.log

USER=`plesk bin domain -i $NEW_DOMAIN_NAME|grep Owner|awk -F\( '{print $2}'|awk -F\) '{print $1}'`
EMAIL=`plesk bin user -i $USER|grep mail|awk '{print $2}'`

echo $USER $EMAIL >> /tmp/event_handler.log

#Generating password, login, database name and database user name
echo "installing WordPress version $LATEST_VER package ID $LATEST_PACKAGE_ID for domain ${NEW_DOMAIN_NAME}" >> /tmp/event_handler.log
echo "generating secure password" >> /tmp/event_handler.log
PASSWD=`genpass 8`_
#echo "Password $PASSWD" >> /tmp/event_handler.log
echo "generating db name and db user name" >> /tmp/event_handler.log
DBUSER=admin_`genpass_alphanum 6`
echo "DB User $DBUSER" >> /tmp/event_handler.log
DBNAME=wp_`genpass_alphanum 6`
echo "DB Name $DBNAME" >> /tmp/event_handler.log

# We need to generate an XML template for Plesk to provide an APS package. Each APS package has its own requirements to the template. In WP template we need to put user name, email address, password and locale – all this information will be used in WordPress instance. User can edit it later.

echo "Generating template for WP" >> /tmp/event_handler.log

echo "<?xml version=\"1.0\"?>
<settings>
 <setting>
  <name>admin_email</name>
  <value>$EMAIL</value>
 </setting>
 <setting>
  <name>admin_name</name>
  <value>$NEW_SYSTEM_USER</value>
 </setting>
 <setting>
  <name>admin_password</name>
  <value>$PASSWD</value>
 </setting>
 <setting>
  <name>locale</name>
  <value>en-US</value>
 </setting>
 <setting>
  <name>title</name>
  <value>WordPress</value>
 </setting>
</settings>" > /tmp/template1.xml

#now ready to install WordPress instance. First let’s log command to execute
echo "plesk bin aps --install "/tmp/template1.xml" -package-id $LATEST_PACKAGE_ID -domain ${NEW_DOMAIN_NAME} -ssl false -url-prefix wordpress -db-name $DBNAME -db-user $DBUSER -passwd \"$PASSWD\" " >> /tmp/event_handler.log

#and fire it for real
plesk bin aps --install "/tmp/template1.xml" -package-id $LATEST_PACKAGE_ID -domain ${NEW_DOMAIN_NAME} -ssl false -url-prefix wordpress -db-name $DBNAME -db-user $DBUSER -passwd "$PASSWD" >> /tmp/event_handler.log 2>&1
#you might want to remove logging in the above line, as APS package installation produces a lot of output.

echo "Finished installing WordPress for domain ${NEW_DOMAIN_NAME}" >> /tmp/event_handler.log
echo "Notifying user of successful installation" >> /tmp/event_handler.log
#Optional email notification sent out to the domain owner. Make sure your Plesk has correct FQDN and DNS is setup properly.
mail -s "Your WordPress is ready" "$EMAIL" <<EOF
Hello, $USER.
Your WordPress installation is ready.
To access it, open ${NEW_DOMAIN_NAME}/wordpress
Login: $NEW_SYSTEM_USER
Password: $PASSWD
EOF

rm /tmp/template1.xml –f

#If plan name is not our target plan, skipping the installation
else echo  "${NEW_DOMAIN_NAME} does not need WP installation" >> /tmp/event_handler.log
fi

echo "--------------" >> /tmp/event_handler.log
How it works
Create a subscription to WordPress plan.

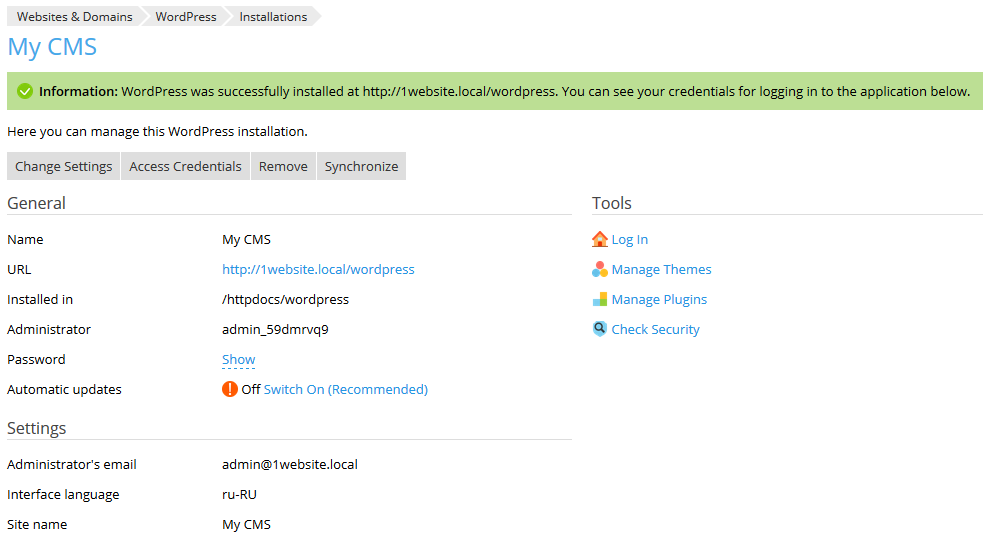
Check to see if WordPress instance has been provided:
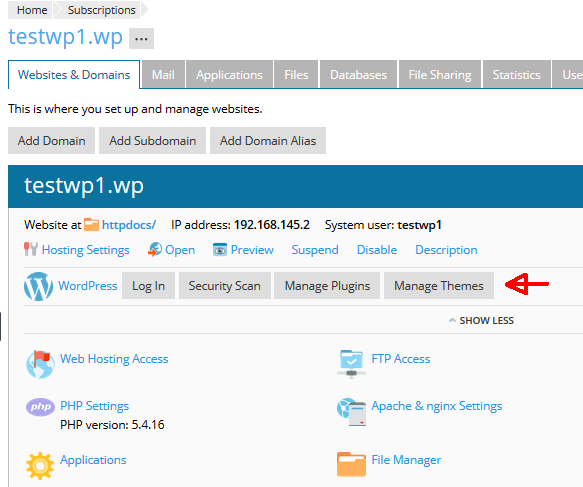

Yes, sir! It worked.
As you can see, my new installation comes without yellow exclamation marks saying “Update is available”, which indicates we indeed installed the latest version.
So that’s it, folks. Hope you’ve enjoyed this tutorial. Next time we’ll be looking at how to automate Joomla and an e-commerce app. Stay tuned!
Vladimir Samukov -Senior sales engineer.
Ping me if you need to integrate Plesk into your in-house billing or prepare an image to deploy 300000 VMs on your IAAS platform.
I am the one who Plesks.