

Redis is an open source (BSD licensed), in-memory data structure store, used as a database, cache and message broker. It supports various data structures and offers extensive customizations. In this article, we’re going to discuss how you can use it to optimize a WordPress website.
WordPress Cache and Redis
WordPress caches internal application objects, like breadcrumbs, menu items, and so on, in the MySQL database. It may be quite taxing since that database also handles queries for page requests. Both combined may increase website load-times.
Redis offers a caching mechanism that substitutes MySQL database. When a user visits a WordPress website, the MySQL queries necessary to generate the page come via Redis, which also caches the results. This helps to reduce loading time.
How Does WordPress and Redis Work Together?
When a user requests a WordPress page for the first time, MySQL queries are performed on the server. Redis caches the result of those queries and stores it. So, when another user requests the same page, Redis provides the information, bypassing the database.
If the query is not cached by Redis, MySQL provides the results and then adds them to Redis cache. When a particular value is updated in the database, the corresponding Redis value becomes invalid. Therefore, you avoid serving bad cache data to the user.
Running Redis with a Docker Container
To simplify the Redis installation, we’re running it in a Docker container. To install one via Plesk, go to Server Management > Docker and search for the image, then click Run (local):

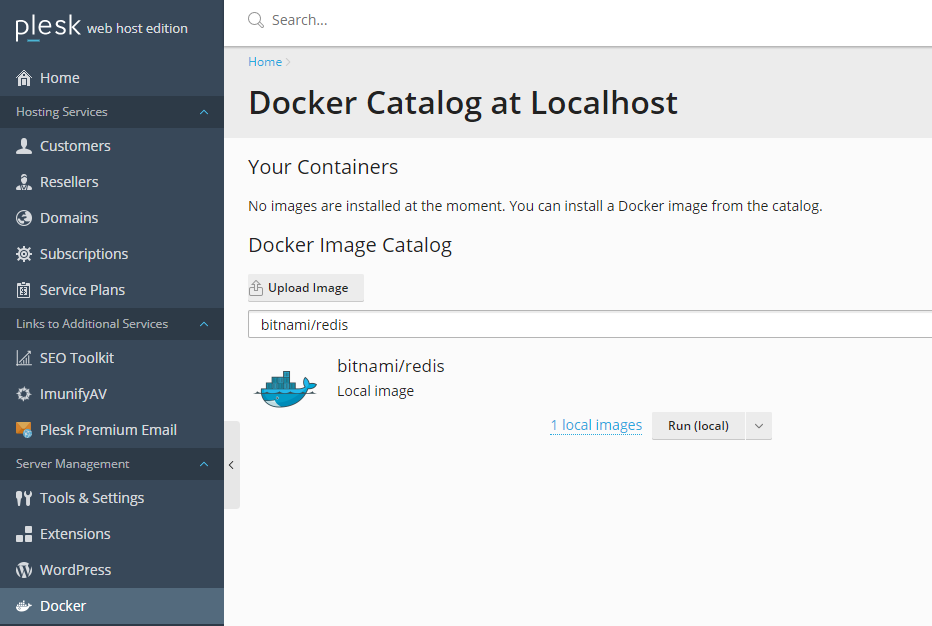
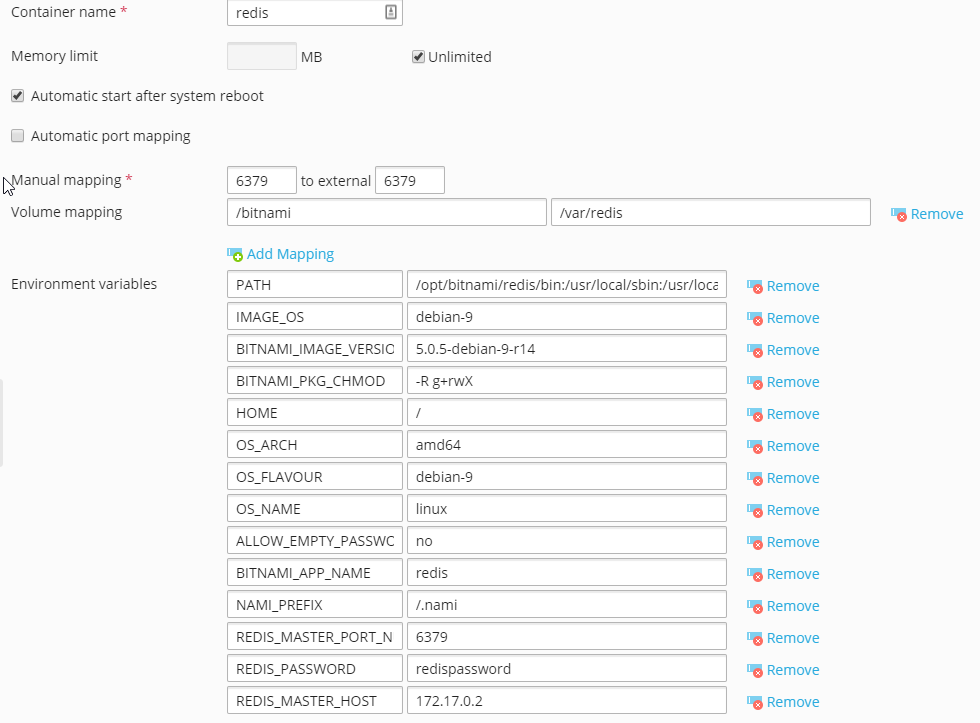
We’re using the bitnami/redis image, and the following settings (change redispassword to something else, and the IP address to IP of the container):

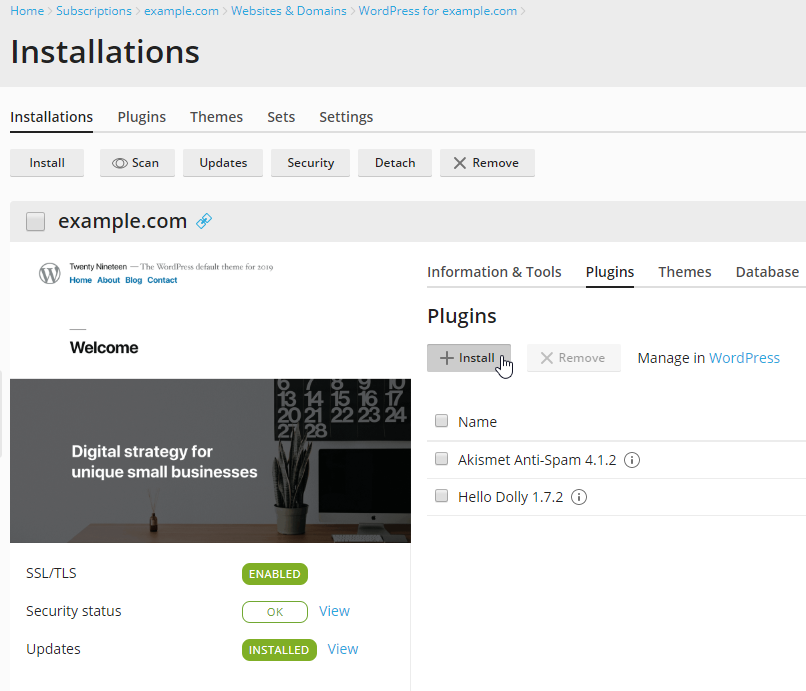
Install Redis Object Cache Plugin Via WP Toolkit
Now that our Redis server is running properly, we can install WordPress plugin Redis Object Cache to our WordPress instance using Plesk WP Toolkit:

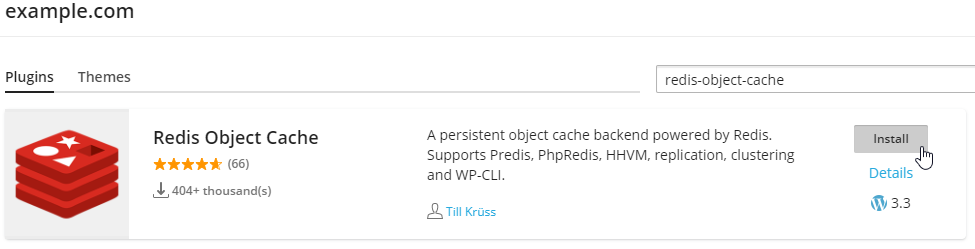
Just search the plugin name and install:

Before enabling object-cache in WordPress, you have to add the following lines in your wp-config.php file. You can do that in Plesk via File Manager.
define( 'WP_CACHE_KEY_SALT', 'example.com:' );
define( 'WP_REDIS_PASSWORD', 'redispassword' );
The first one adds a prefix to all cache keys stored in Redis. Thus, allowing you to use object-cache for multiple WordPress instances on the same server. The second protects Redis with a previously specified password.

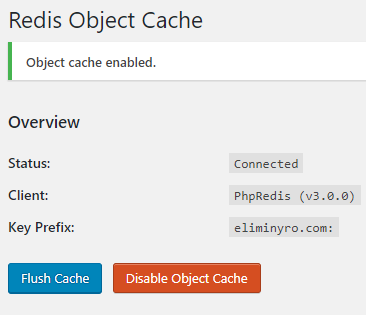
Then, you can enable object-cache in the plugin settings page – in WordPress. The final result will look something like the above screenshot.
Let us know if this guide was helpful to you and any feedback you may have on the topic!