Symptoms
How to install Plesk on DigitalOcean cloud infrastructure instance?
Steps to Deploy
-
Review Software Requirements for Plesk to find what Linux distributions are supported by Plesk.
-
Log into DigitalOcean account and create droplet with supported OS on board as follows:
-
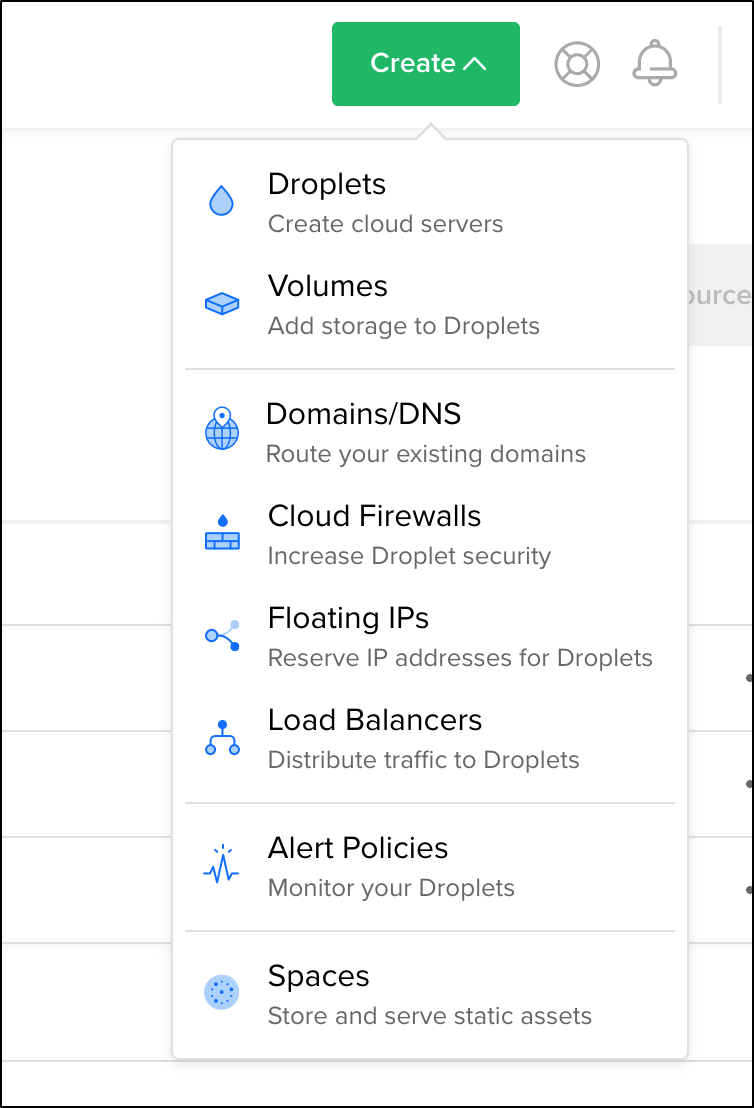
Start with the creation of a droplet:
- Use available "One-click app" with pre-installed Plesk on Ubuntu 18.04
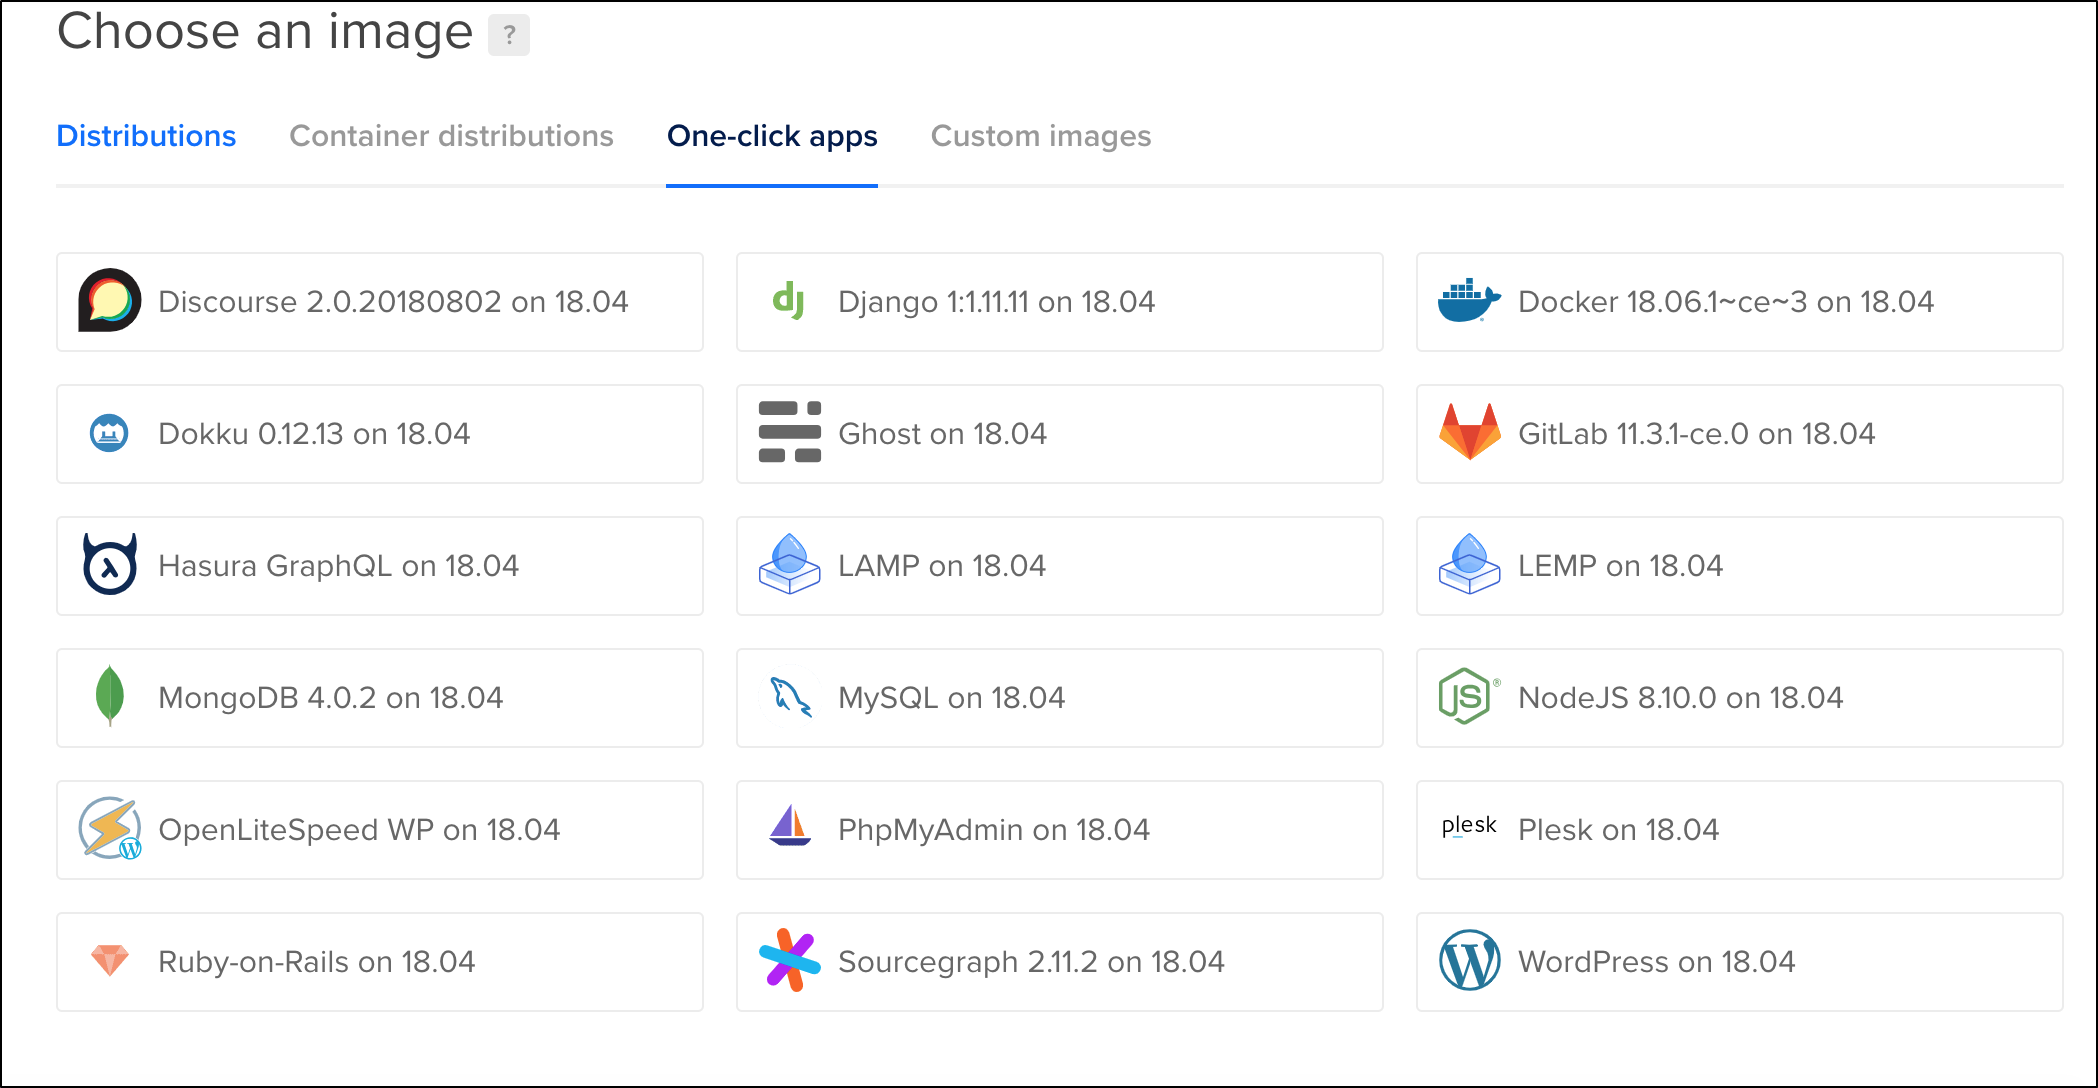
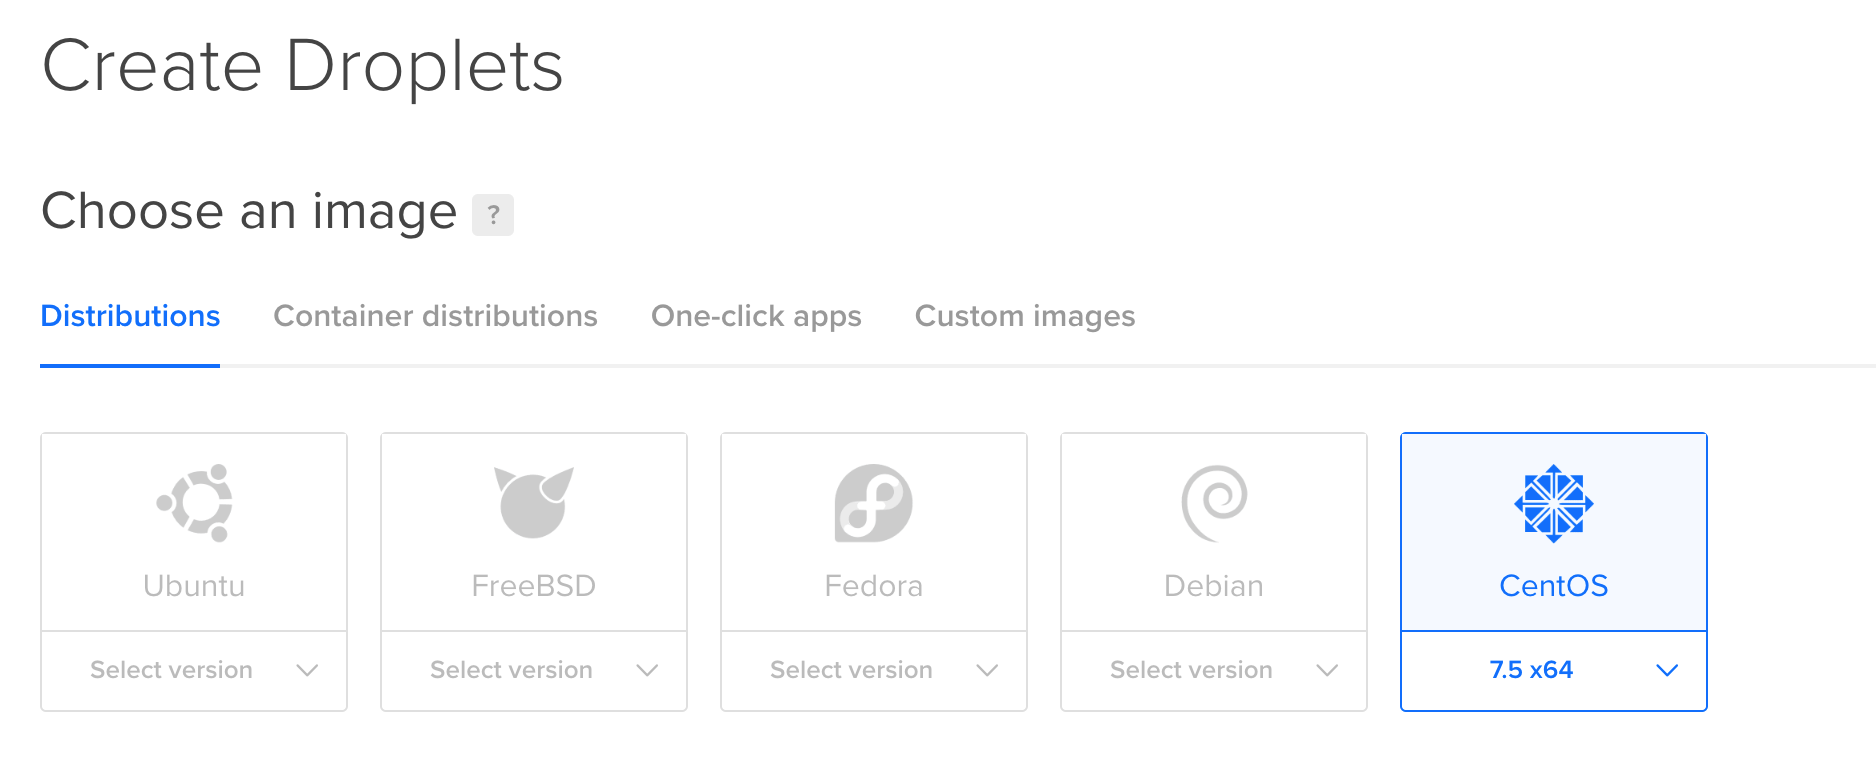
or choose clean image of supported OS from available ones:
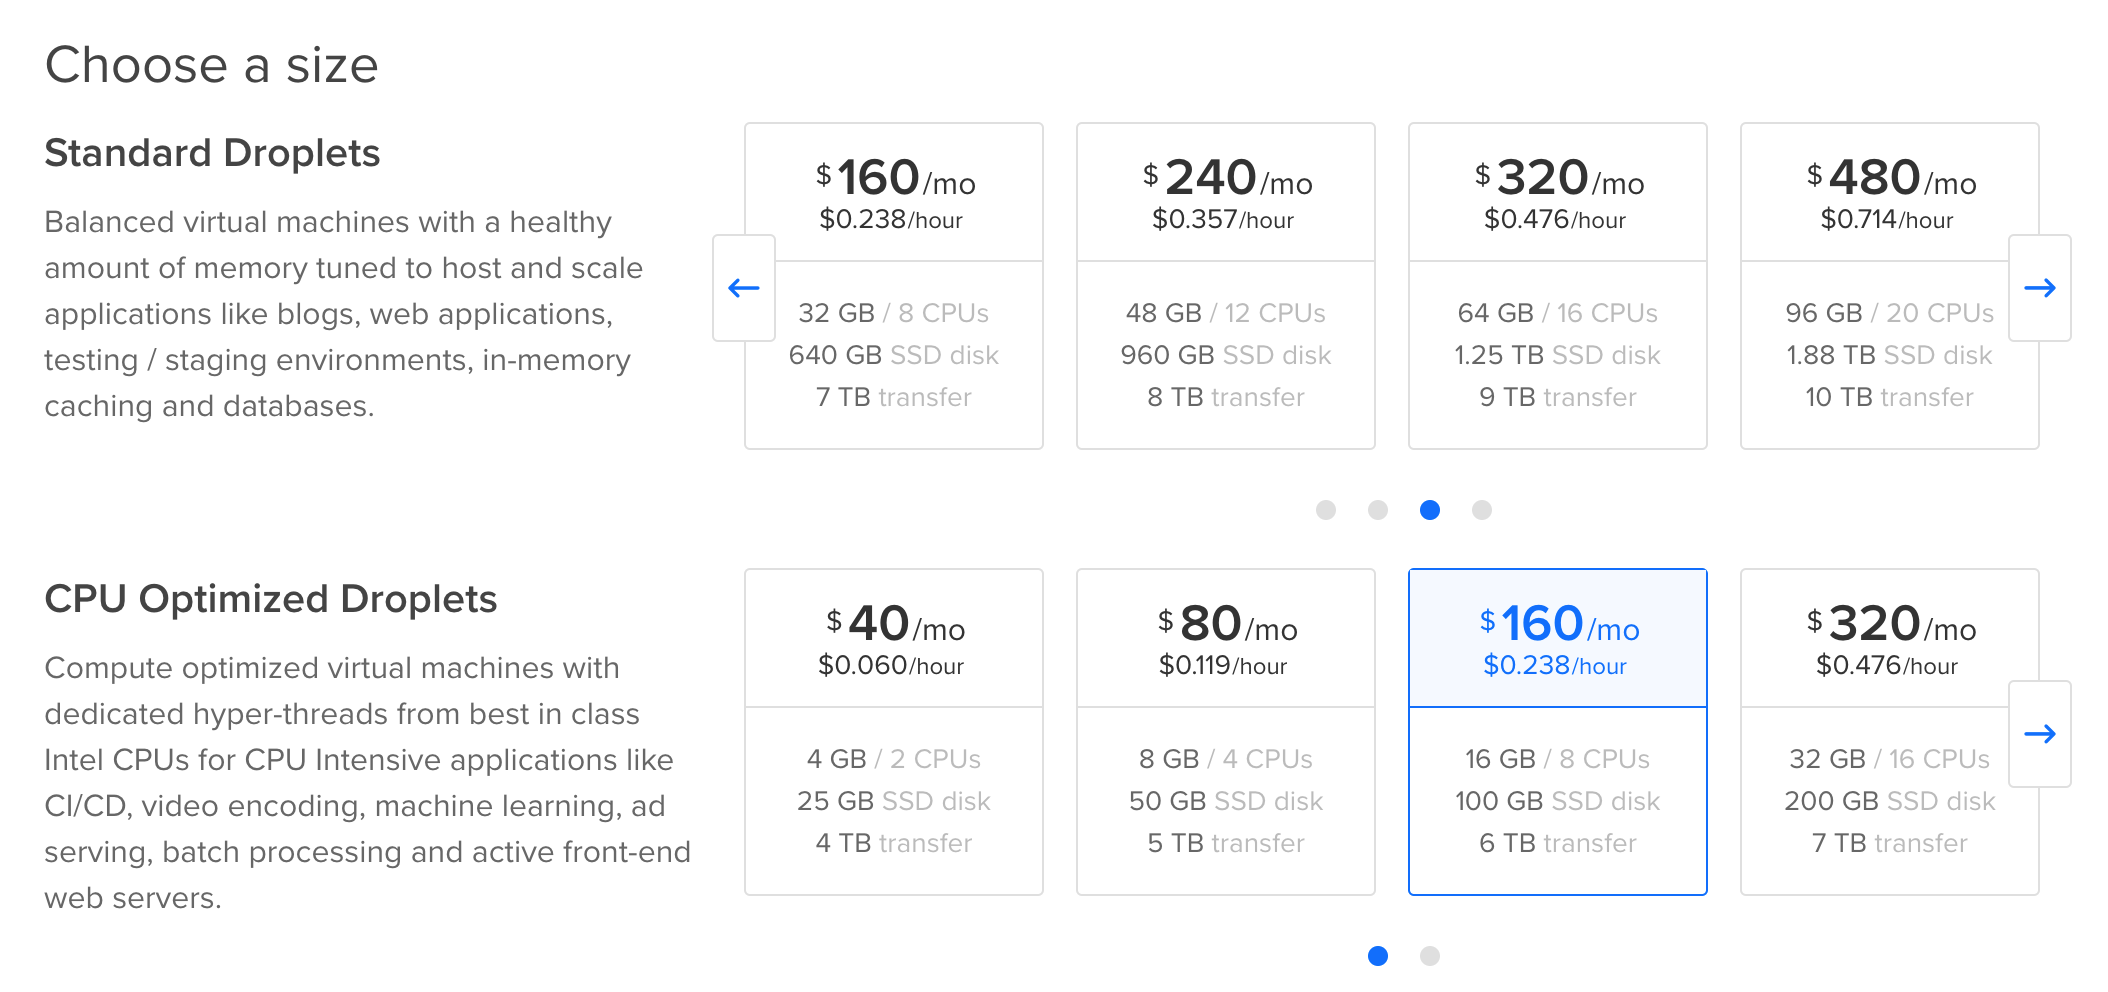
- Choose required CPU/Size options:
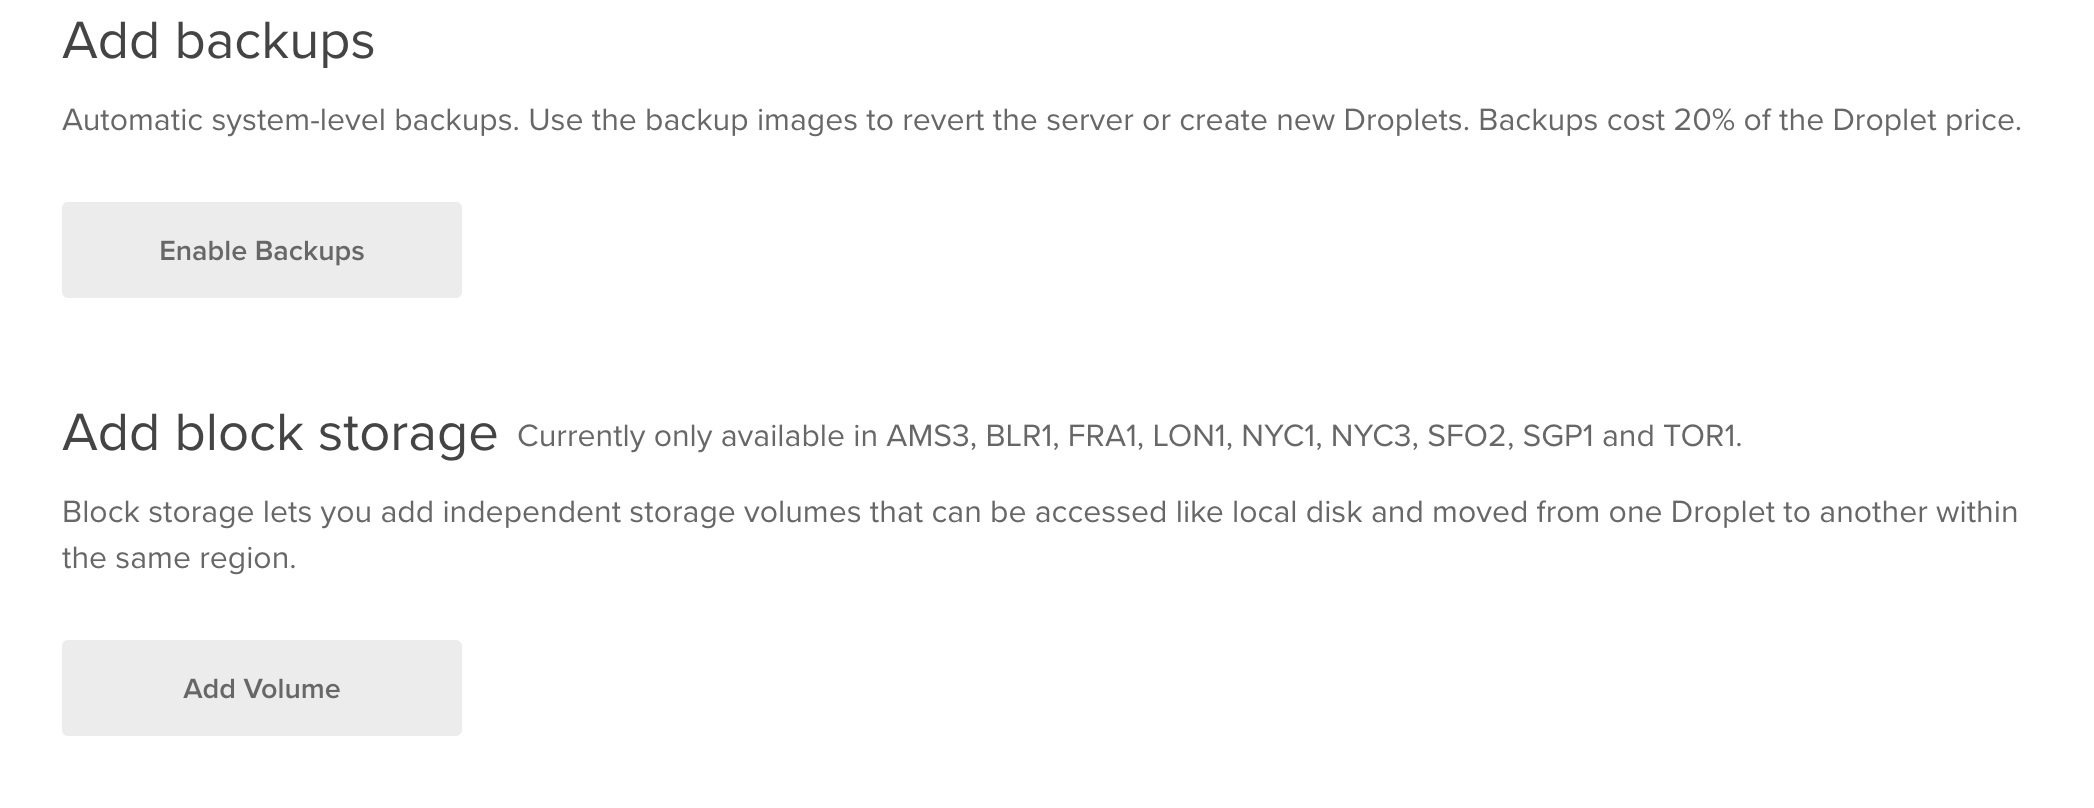
- Choose storage additional options if required:
-
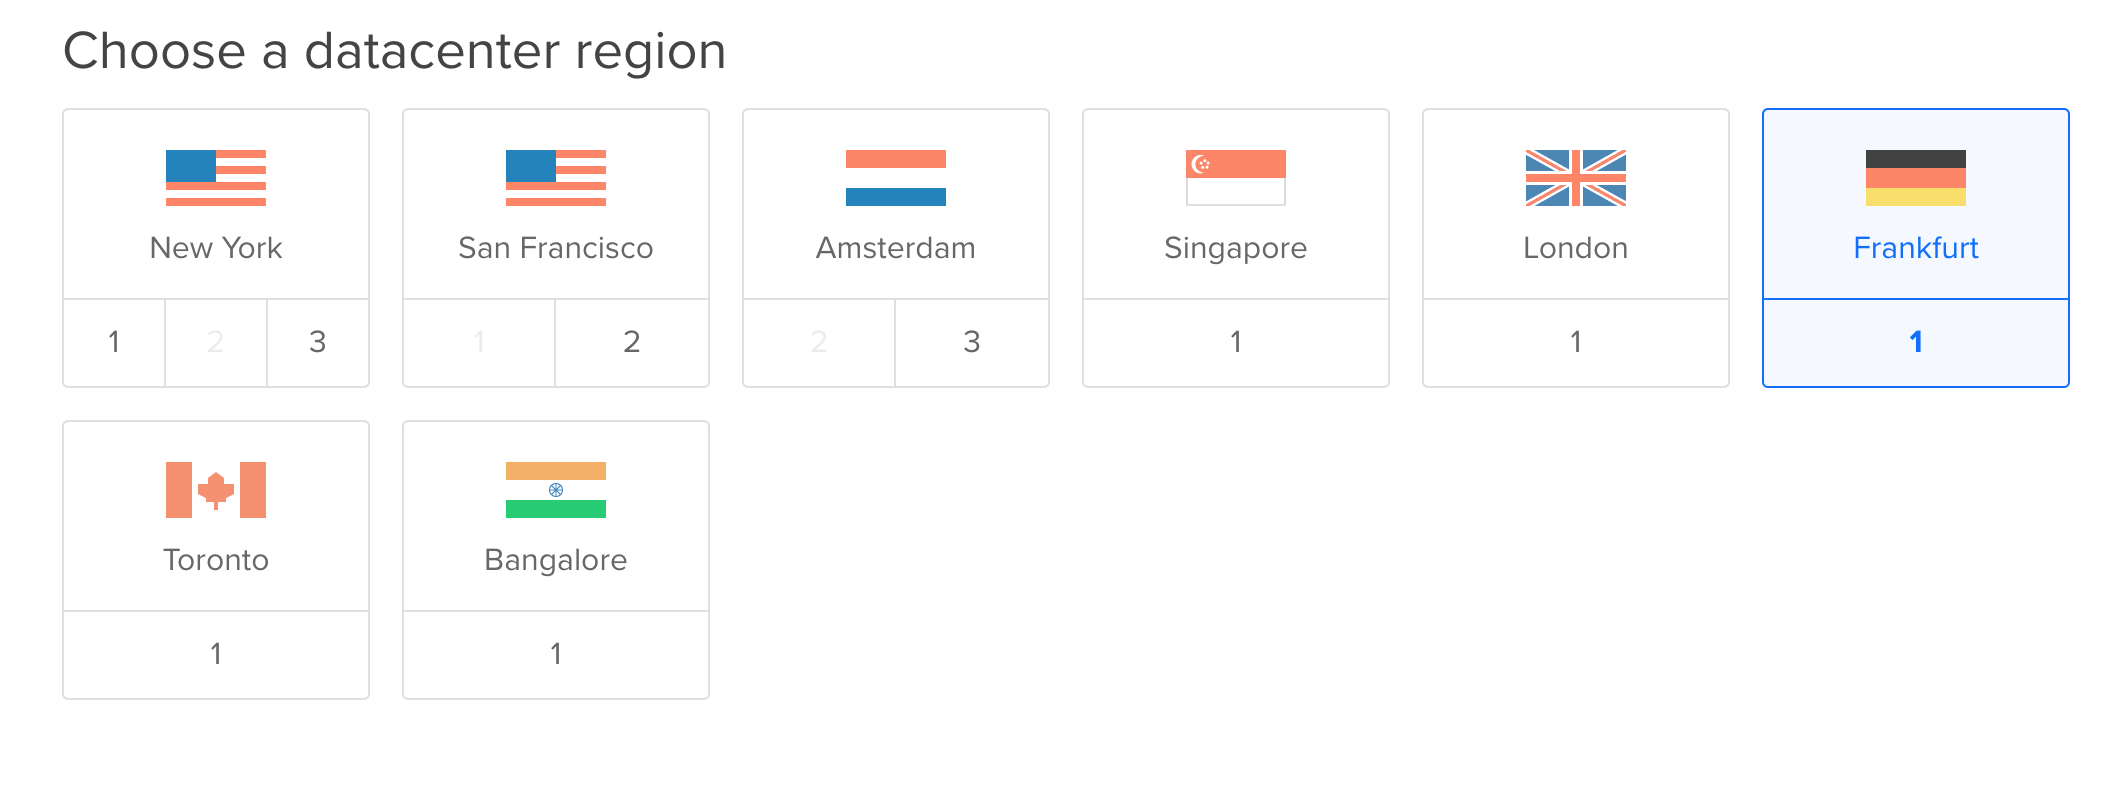
Choose data center region:
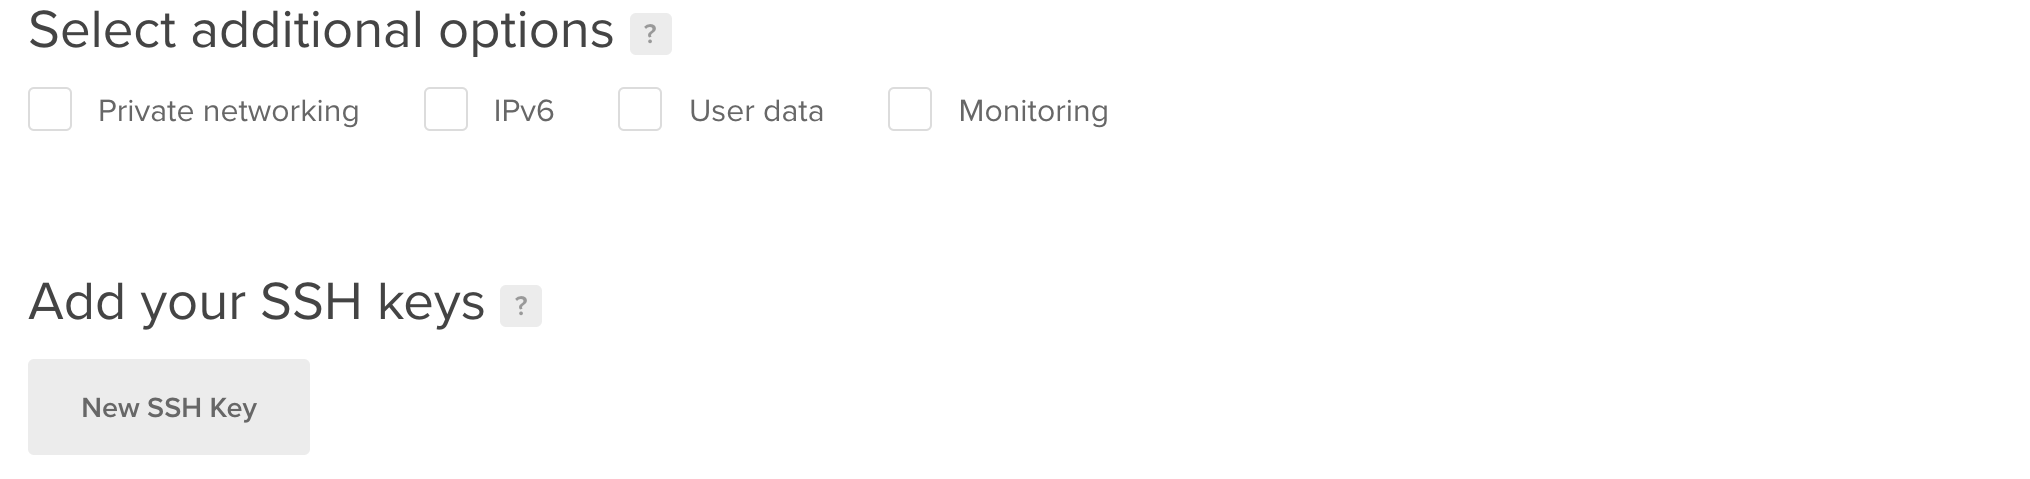
- Choose options and set SSH Key
-
Specify hostname and finalize creation of a droplet:

-
And wait until it will be created:
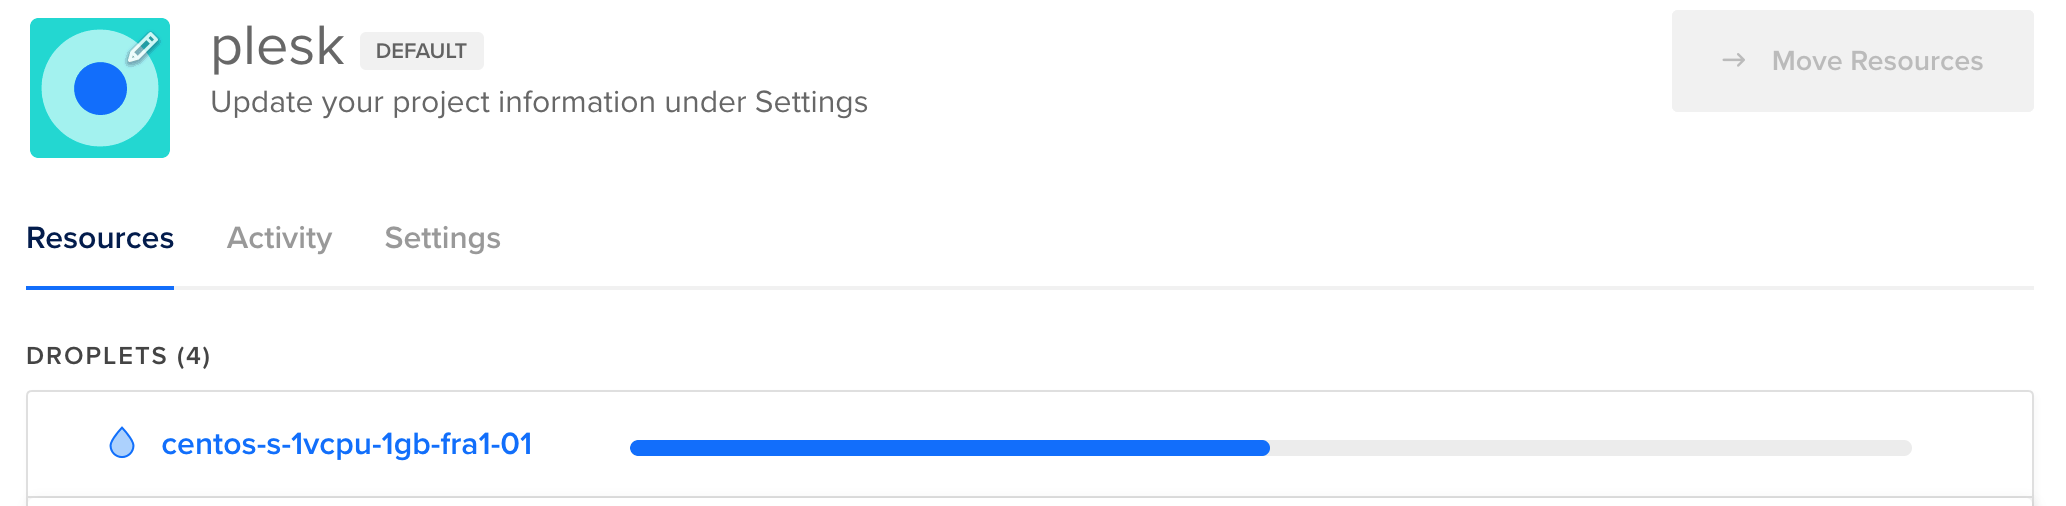
-
-
Once the droplet is deployed, log into the instance via SSH under
root
# ssh root@10.20.30.40
The authenticity of host '10.20.30.40 (10.20.30.40)' can't be established.
RSA key fingerprint is 9a:ca:bc:1e:ad:07:a4:2f:70:51:33:c3:44:12:95:a1.
Are you sure you want to continue connecting (yes/no)? yes
Warning: Permanently added '10.20.30.40' (RSA) to the list of known hosts.
root@10.20.30.40's password:
# -
If a clean template was selected, install Plesk using One-Click installer or run through Plesk Installation and Upgrade Wizard to deploy custom installation:


One-Click installer
# sh <(curl https://autoinstall.plesk.com/one-click-installer || wget -O - https://autoinstall.plesk.com/one-click-installer)
Custom installation through Plesk Installation and Upgrade Wizard
# wget https://autoinstall.plesk.com/plesk-installer
# chmod +x plesk-installer
# ./plesk-installer
-
Find password for
admin
# plesk login
-
Log into Plesk using the received login link and complete installation.