Provided Product Configurations
The following Plesk configurations are available on Linode.
| Plesk | Components set |
|---|---|
| Plesk Obsidian on CentOS 7 (BYOL) | Recommended set* (Fail2Ban, ModSecurity, Plesk Firewall, and **WP Toolkit are installed by default). |
| Plesk Obsidian on Ubuntu 16.04 (BYOL) | Recommended set* (Fail2Ban, ModSecurity, Plesk Firewall, and **WP Toolkit are installed by default). |
| Plesk Obsidian on Ubuntu 18.04 (BYOL) | Recommended set* (Fail2Ban, ModSecurity, Plesk Firewall, and **WP Toolkit are installed by default). |
Note: *The Recommended components set includes all components
necessary for web hosting (including the web server, a mail server, a
database server, and so on), plus the most popular and widely used
features. To learn move about BYOL images, see the topic Choosing Between Plesk WebHost and
BYOL.
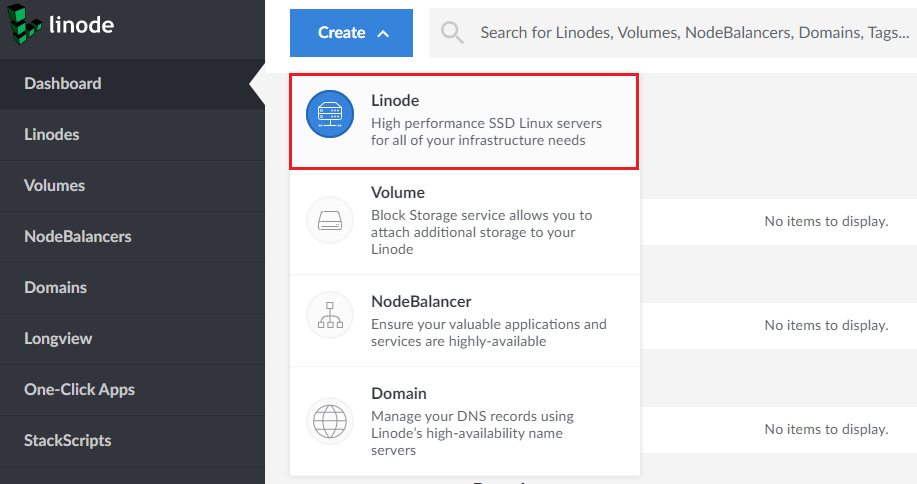
Installing Plesk on Linode
-
Click Create > Linode > the “One-Click” tab.
-
Select “Plesk”.
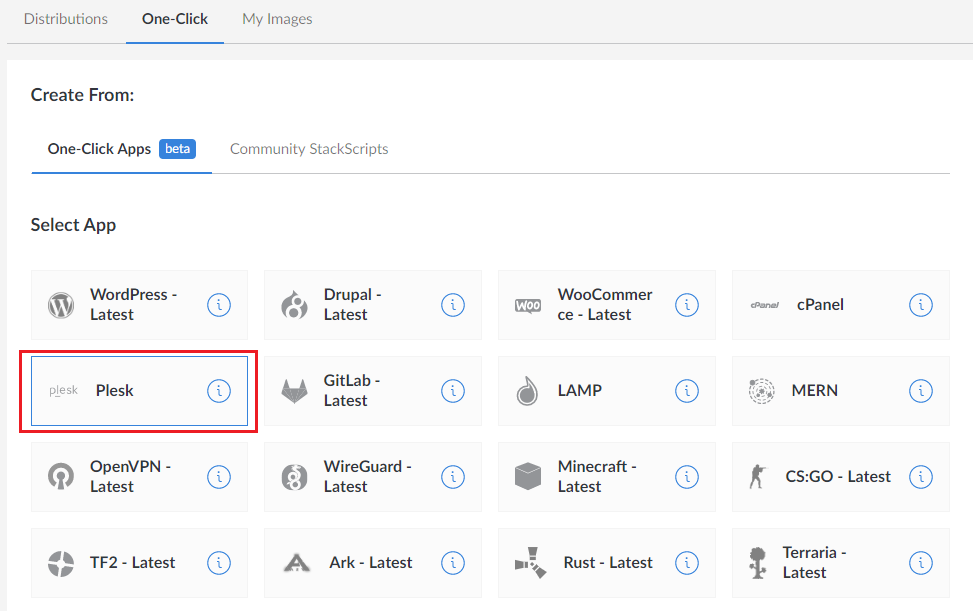
-
Specify the server hostname, for example, servername.example.com.
-
Select a desired OS image.
-
Select a region.
If you plan to host small business websites,
we recommend choosing the zone closest to their geographic location to reduce page load times for local visitors.To choose the closest zone, use the Linode speed test.
…

