Provided Product Configurations
The following Plesk configurations are available on DigitalOcean.
| Plesk | Components set |
|---|---|
| Plesk Web Admin Edition SE (Ubuntu 20.04) | Recommended set* (Fail2Ban, ModSecurity, Plesk Firewall, and **WP Toolkit are installed by default). Additionally, the DigitalOcean DNS extension is installed by default. |
| Plesk Web Admin Edition SE (CentOS 7) | Recommended set* (Fail2Ban, ModSecurity, Plesk Firewall, and **WP Toolkit are installed by default). Additionally, the DigitalOcean DNS extension is installed by default. |
Note: *The Recommended components set includes all components
necessary for web hosting (including the web server, a mail server, a
database server, and so on), plus the most popular and widely used
features. For more information about Plesk Web Admin Edition SE,
see the topic Plesk Web Admin SE.
Note: ** WP Toolkit in Plesk Web Admin Edition SE
provides only basic functionality. To use premium WordPress features,
upgrade your Plesk license to Web Pro or Web Host
Edition.
Installing Plesk on DigitalOcean
-
Log in to an existing DigitalOcean account or create a new
one. -
Click Marketplace (under “DISCOVER” in the left navigation bar),
type Plesk in the search bar, and then click the desired Plesk image:
“Plesk” (which is Plesk on Ubuntu 18.04) or “Plesk (CentOS)”.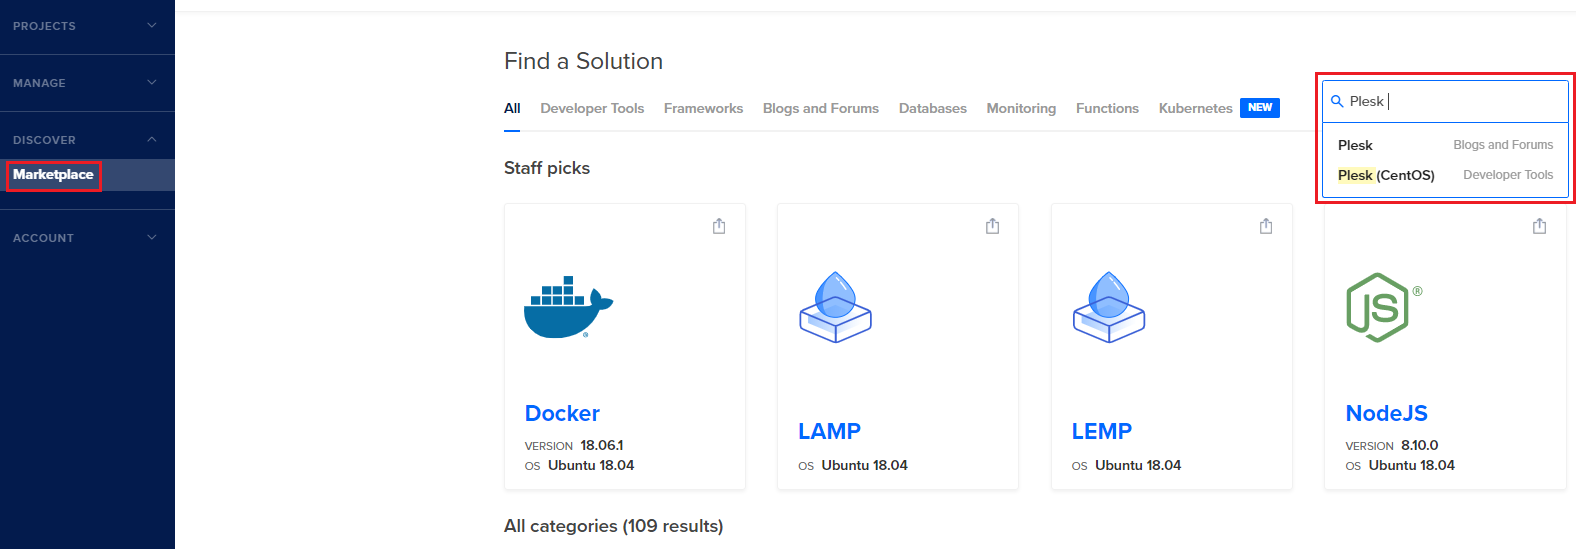
-
Click Create Plesk (CentOS) Droplet/Create Plesk Droplet.
-
Choose one of the three plans and then choose a droplet paying
attention to the amount of memory it comes with.You can choose one of the standard droplets paying attention to the
amount of memory it comes with.The more…
