

Why use Plesk on Google Cloud? As an industry giant, Google has a reliable global infrastructure and can offer products with the right combination of price, features and performance. Products that can power your business or project right now, but also grow and scale beside you.
Google’s scale also enables them to innovate custom-built products. For example, their own server equipped with purpose-built chips and software stack with cloud-specific protocols. Better information means better decisions, better products and faster innovation. Thanks to Big Data and Machine Learning services employed across Google products and apps you can expect dependable, instantaneous and contextualized information.
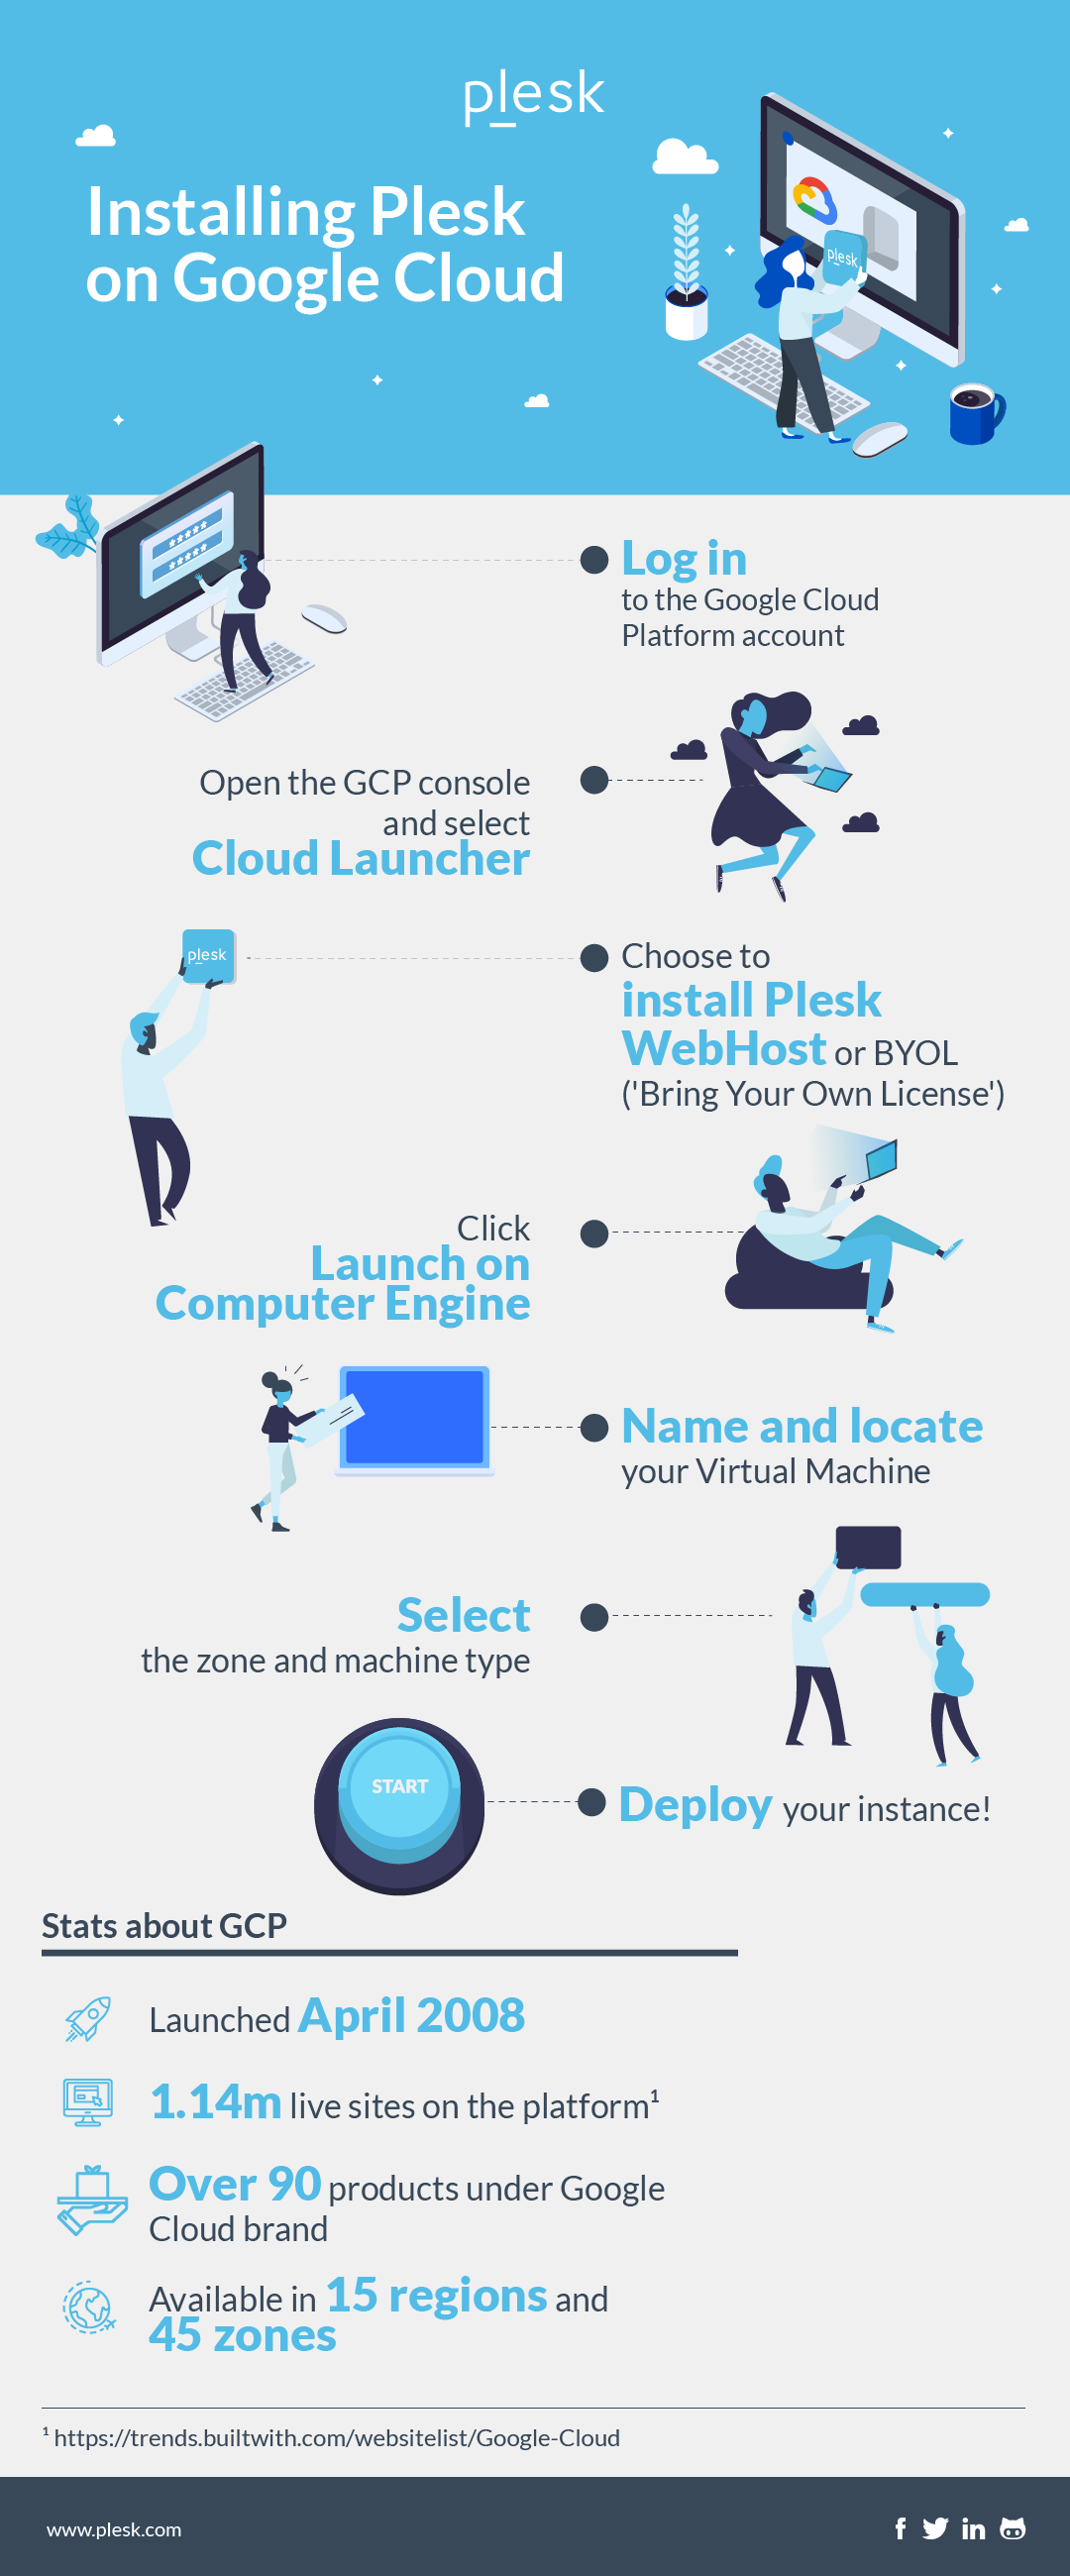
How to complete installation of Plesk on Google Cloud

Locating Plesk
- Before you install Plesk on Google Cloud, create or log in to a Google Cloud Platform account.
- Once logged in, head to the Google Cloud Platform Console and select Cloud Launcher.
- In the search bar type “plesk”.
Plesk WebHost or BYOL?
- You’ll now be given a choice between Plesk WebHost and BYOL:
- Plesk WebHost is ready to work out of the box and is good for you if you don’t have a license or want to start using Plesk right away.
- BYOL means ‘bring your own license’ and is a good fit if you are familiar with Plesk, you have a license and you know which components you need.
- You can then click “LAUNCH ON COMPUTE ENGINE”.
Naming and locating your Virtual Machine instance
Name your Virtual Machine instance via the “Deployment name” field. You can now “Select Zone” and decide where you want to locate your VM. For example, if you’re hosting a website for a small local business, it’s best to choose a zone closest to the geographic location of visitors to help reduce load times.
Selecting the right machine type
When choosing a machine type that Plesk can be deployed on, pay close attention to the amount of RAM available. The more websites you intend to host and the more traffic you generate, the more RAM you will need. So refer to Plesk System Requirements to correctly estimate the amount of RAM your setup requires.
If you are unsure which machine type to choose, we recommend starting with the default “1 vCPU” for web hosting. If you find that the existing machine type is not suitable for the quantity or load of your websites, you can change your machine type to one with more resources.
Disk type and size of Plesk on Google Cloud
When hosting production websites, we recommend to keep SSD Persistent Disk under “Disk type”. If you’re using Plesk for testing purposes only, you can select Standard Persistent Disk.
Before you specify the amount of disk space required for your website in “Disk size in GB” estimate the value required as precisely as possible. This value will depend on the type of website you’re hosting, as well as its popularity and other factors. If you’ve selected too small a value, you can resize the disk space later.
Firewall for Plesk on Google Cloud
It’s recommended to keep all the selected checkboxes under “Firewall” as they are Plesk default settings.
Deploy your instance
The final step is to click “Deploy”. Your Virtual Machine instance is now up and running. By following these easy steps you’ve now setup Plesk on Google Cloud and taken your web hosting to a higher level.