

Joomla! ranks as one of the most popular Content Management Systems worldwide. But running a secure Joomla! installation is not a one-shot task. Join us for a session on how to build, secure and run your first Joomla! installation on a fresh Plesk Server. In order to help you streamline the process a bit, we recommend that you first install our Joomla! Toolkit.
Build your first Joomla! on Plesk
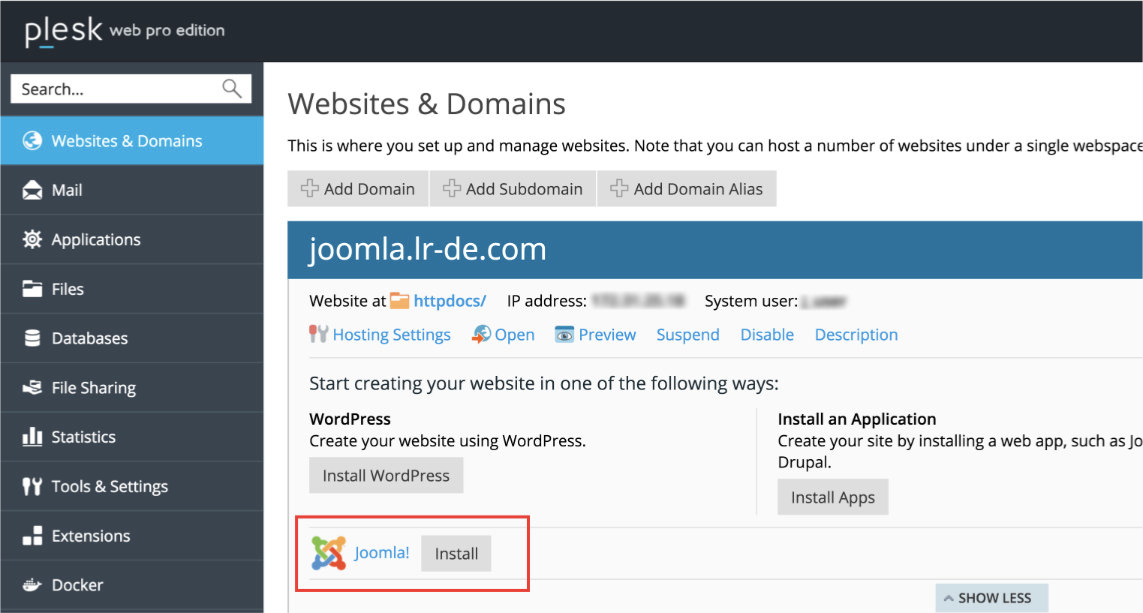
Installing your first Joomla! on a Plesk server became one of the easiest tasks since we introduced the Joomla! Toolkit. Because it can perform menial and repetitive jobs. You can start the installation directly from “Websites & Domains” as below.

Joomla! Installation
The Installation itself is simple. Because you only need to select the domain, subfolder, username, password and whether you want to install demo data. After installing, we’ll head straight into the new Joomla! instance. You can either log in from http://{{your-url}}/administrator or use the single Sign-On feature of the premium Joomla! Toolkit.
Joomla! wrapped in a secure environment
Security’s one of the main tasks for an administrator of a Joomla! website. This little checklist should help you with the first batch of security tasks.
- Use the “protect folder” function to create an .htaccess protection for your Joomla! backend.
- Activate https for your website by using an SSL certificate.
- Use the latest PHP Version.
- Force strong passwords in Joomla! and activate an 2FA extension.
- Create separate user accounts for Administration and Content Creation.
On top of these tasks, you should always check to keep the system up-to-date. This includes the Joomla! installation, extensions, PHP, Plesk and the OS itself. To double-check, you can even use the Security Scanner from the Joomla! Toolkit. In order to identify any potential to up your security.
Follow the steps from our Advisor to learn more about security and how to stay on top of yours. But don’t forget to come back from time to time, as our Advisor’s always learning new things too!
Time to run your Joomla! Website
Now that you’ve installed Joomla! and completed the first batch of security tasks, we want your Joomla! website to run. And for this, we need it to be highly available and fast. Therefore, we can tweak Joomla! itself and the server to gain the best performance. Maybe you’ve already activated HTTP/2 from the Advisor. But there’s more to tweak right from your Plesk installation.
Inside the Joomla! Toolkit
You can now activate the caching on file level inside the “System”-Configuration. But the best trick to keep your Joomla! instance fast? Use as few extensions as possible. Because most extensions bring their own JavaScript and CSS files, which are then loaded on your pages.
Next up: Caching. Select “Apache & NGINX settings” from your domain overview and scroll down to enable the Microcaching of the NGINX server.
And there you have it – your first Joomla! installation: Complete. Let us know how it’s worked for you in the comments below. We love feedback! <3