
Why in the World Would I Need This?
I spend a lot of time developing and testing all kinds of cool stuff for web hosting, and I’m using VMs with Plesk for my experiments. As you can imagine, installing and configuring a new Plesk installation every time you need one can be a bit of a bore. When tinkering, I am using DigitalOcean cloud services, and pre-configured system image is a major time saver. Yes, you heard it right! Plesk handles server cloning really well.
Even if you do not do testing, but are in the managed hosting business, use DigitalOcean, and are sick and tired of installing Plesk manually, this article may be of use for you.
Preparational Step: Setting up the Sample Server
Okay, we start with a droplet with Plesk pre-installed. If you have no idea what I’m talking about and you’ve never used DigitalOcean before, it’s high time you learned a bit about the service, or else the rest of the article will not make much sense to you. I recommend starting here:
- Create Server: https://www.digitalocean.com/community/tutorials/how-to-create-your-first-digitalocean-droplet-virtual-server
- Install Plesk: http://download1.parallels.com/Plesk/PP12/12.0/Doc/en-US/online/plesk-installation-upgrade-migration-guide/65780.htm#
You need to use root login and password to log in to Plesk for the first time, but a caveat of DigitalOcean is that they don’t give it to you, using SSH keys for authentication instead. You can either explicitly set the root password and use it to log in to Plesk, or find out the admin user password as follows:
root@plesk:~# plesk bin admin --show-password
iMGqdhtar19H
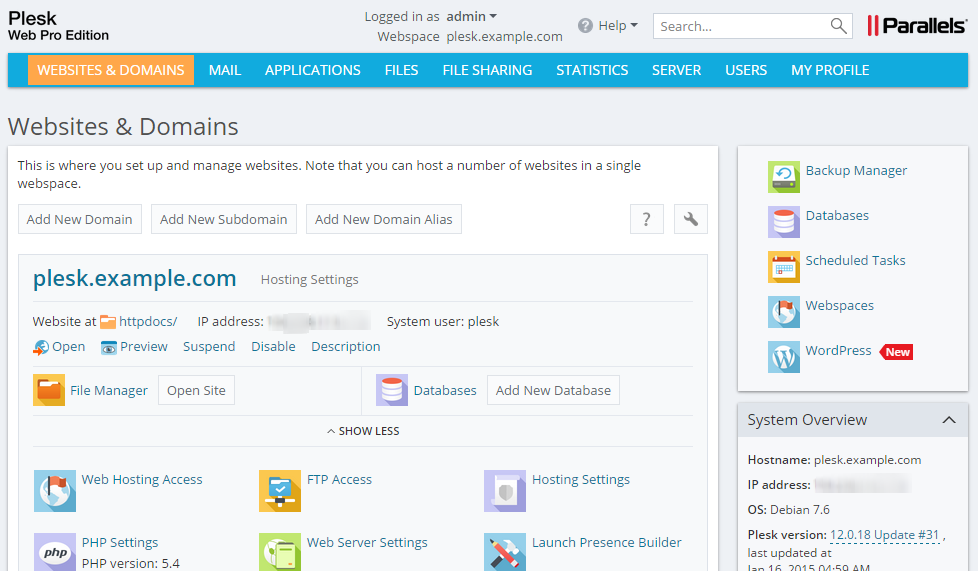
Install and configure Plesk and all the necessary extensions, check out our cool new skin, and you’re ready to roll!
Step One: Preparing the Server for Cloning
Now log in to the server via SSH to take a look at the cloning utility and its options.
-prepare-public-image sets a flag telling Plesk to re-generate all the unique system data (automatically generated certificates, object GUIDs, system users’ passwords etc.) the next time it starts. User data is not affected. I strongly suggest you use this option to avoid a lot of potential issues down the road.
-reset-license may come in handy if you plan to create a number of Plesk hosts and assign a separate license key to each one. It can be skipped if you plan on constantly re-creating a single server for testing. As long as you are not using a license on more than one box, you are not in violation of the license agreement – regardless of the fact that the server is being re-built every hour.
-reset-init-conf is optional as well. Using it resets Plesk configuration. Note that it does not remove the installed modules, and does not mess with their configuration!
-skip-update this one should be used with care. I recommend using it only if system startup time is of critical importance for you. No updates (which means no security updates either) will be installed during cloning if you use this option. You can install the updates at a later date using Plesk installer, or they will be installed automatically within the next seven days, unless you turn off automatic updates as well.
Now that you know the basics, you can begin.
root@plesk:~# plesk bin cloning -u -prepare-public-image true -reset-license false -reset-init-conf false
Server cloning settings were successfully updated.
Make sure that everything’s all right.
root@plesk:~# plesk bin cloning --info
prepare-public-image: true
reset-license: false
reset-init-conf: false
skip-update: false
Now the server needs to be shut down!
Step Two: Creating the Server Image
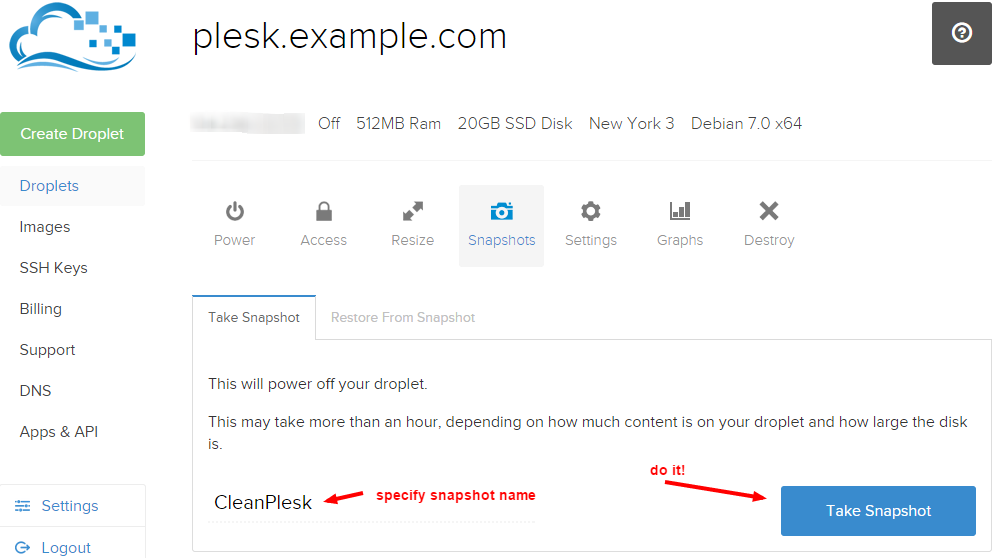
Log in to the DigitalOcean control panel and browse to the ‘Snapshots’ tab for the server you’ve just prepared. Specify the snapshot name, then click ‘Take Snapshot’. You’re almost there!
Step Three: Creating a Clone
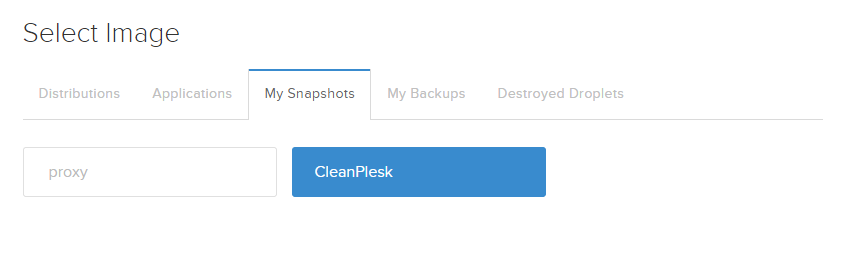
After the image has been successfully prepared, you can use it to create a new server. Click ‘Create Droplet’ and select the newly prepared snapshot as the basis:
As the server boots up, Plesk will recognize that it is being used as a sample for cloning, perform all the necessary operations (change passwords etc.), and disable the -prepare-public-image flag. You are now able to use the server as if the product installation was performed manually on the box. It takes around 60 seconds to get a fully functional Plesk server – life doesn’t get much better than that!


3 Comments
Hi,
Could you tell me which skin/theme you are using in the plesk panel & where can i download it?
Cheers.
Hello,
You can find it in Extension catalog: Plesk -> Extensions -> Extension Catalog -> Skins and Color Schemes. After installation go to extension page and choose preferred color scheme.
Nice tutorial…..
Thanks